I am so excited to share today’s post because I it’s something I’ve been working on for years. Today I am finally sharing the before and after of our faux cement fireplace along with each step in case you want to DIY your own.
You’re probably thinking, “Really, Camille? You’ve been working on this for years?” Yes. When we moved into this house 5 years ago, there was a weird, faux mantle attached to the wall. From the start, I always wanted to remove that bizarre, raised red tile area. To this day I don’t even know what to properly call it. When we moved in, we didn’t have the budget to redo the floor completely. We re-stained it and left the weird tile thing but removed the mantle.

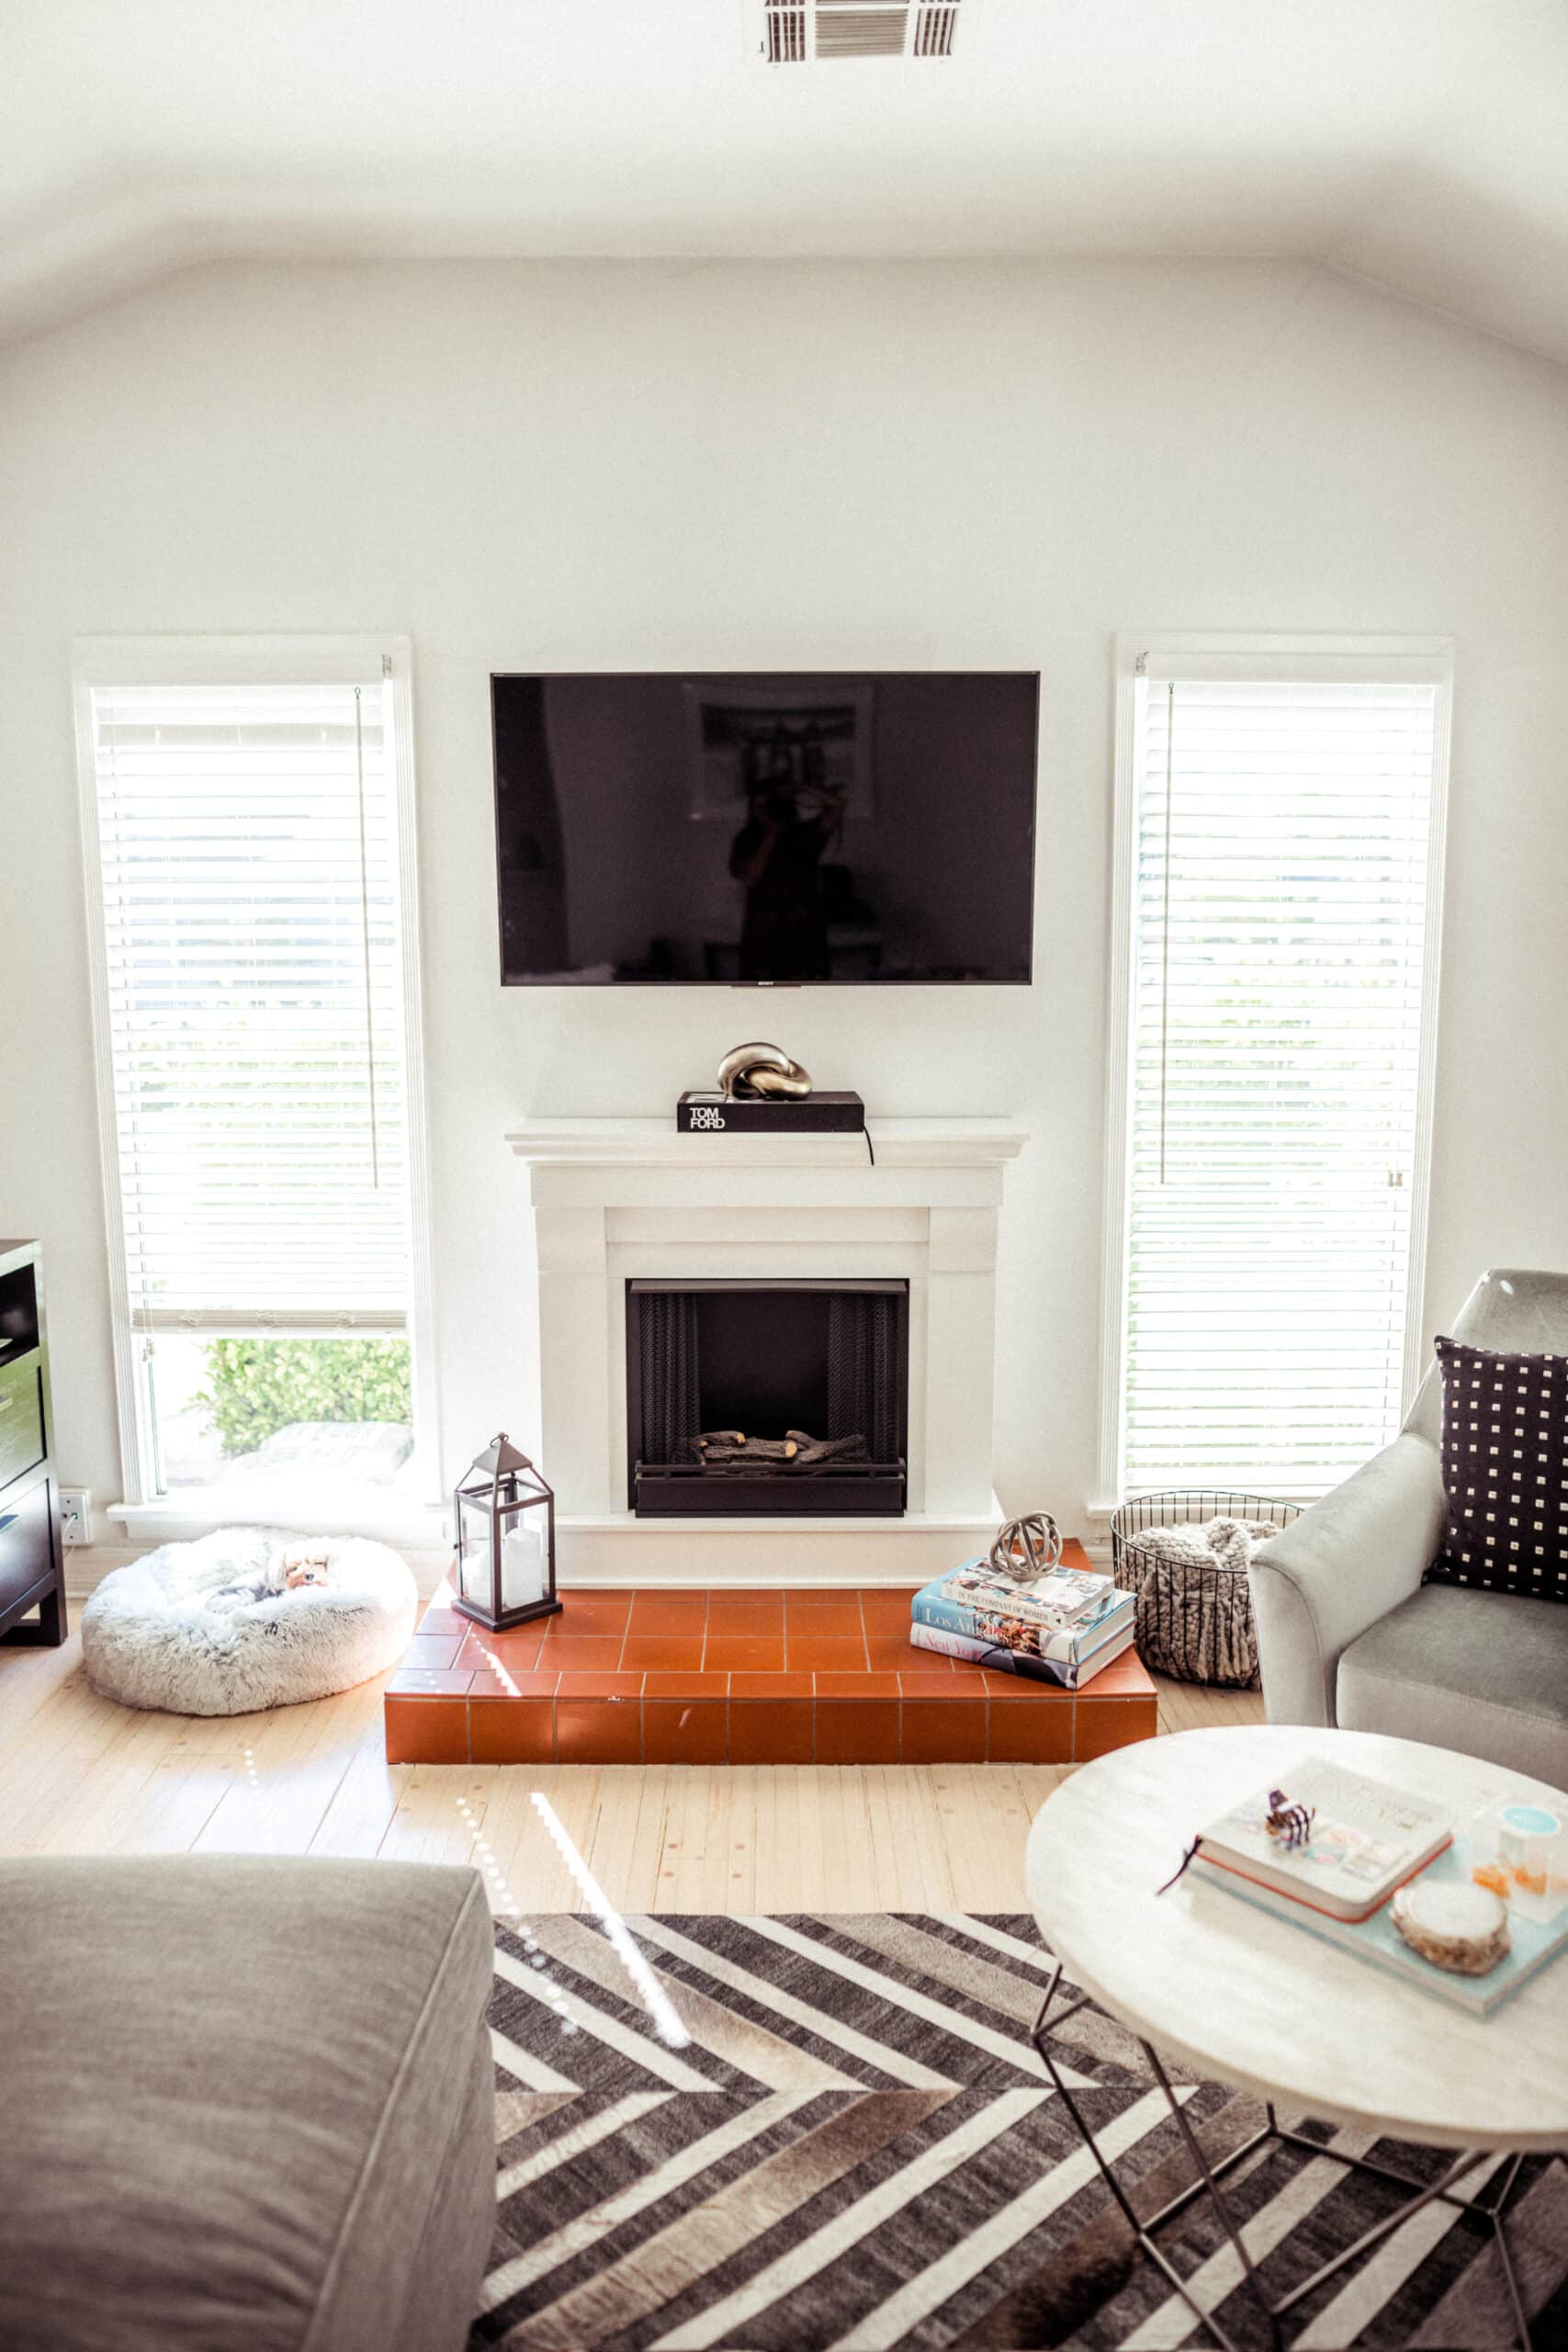
I promptly purchased a fake fireplace from Wayfair or Overstock (I forget) and for the better part of 5 years our living room has looked like this:
I didn’t totally hate the look of the white fake fireplace, but the “fire” consisted of dinky little Sterno cans, so we never used it. (We have now upgraded to a beautiful electric fireplace courtesy of Touchstone Home Products. More on them later, but now our fireplace is 100% electric and the unit can heat up the whole space.)
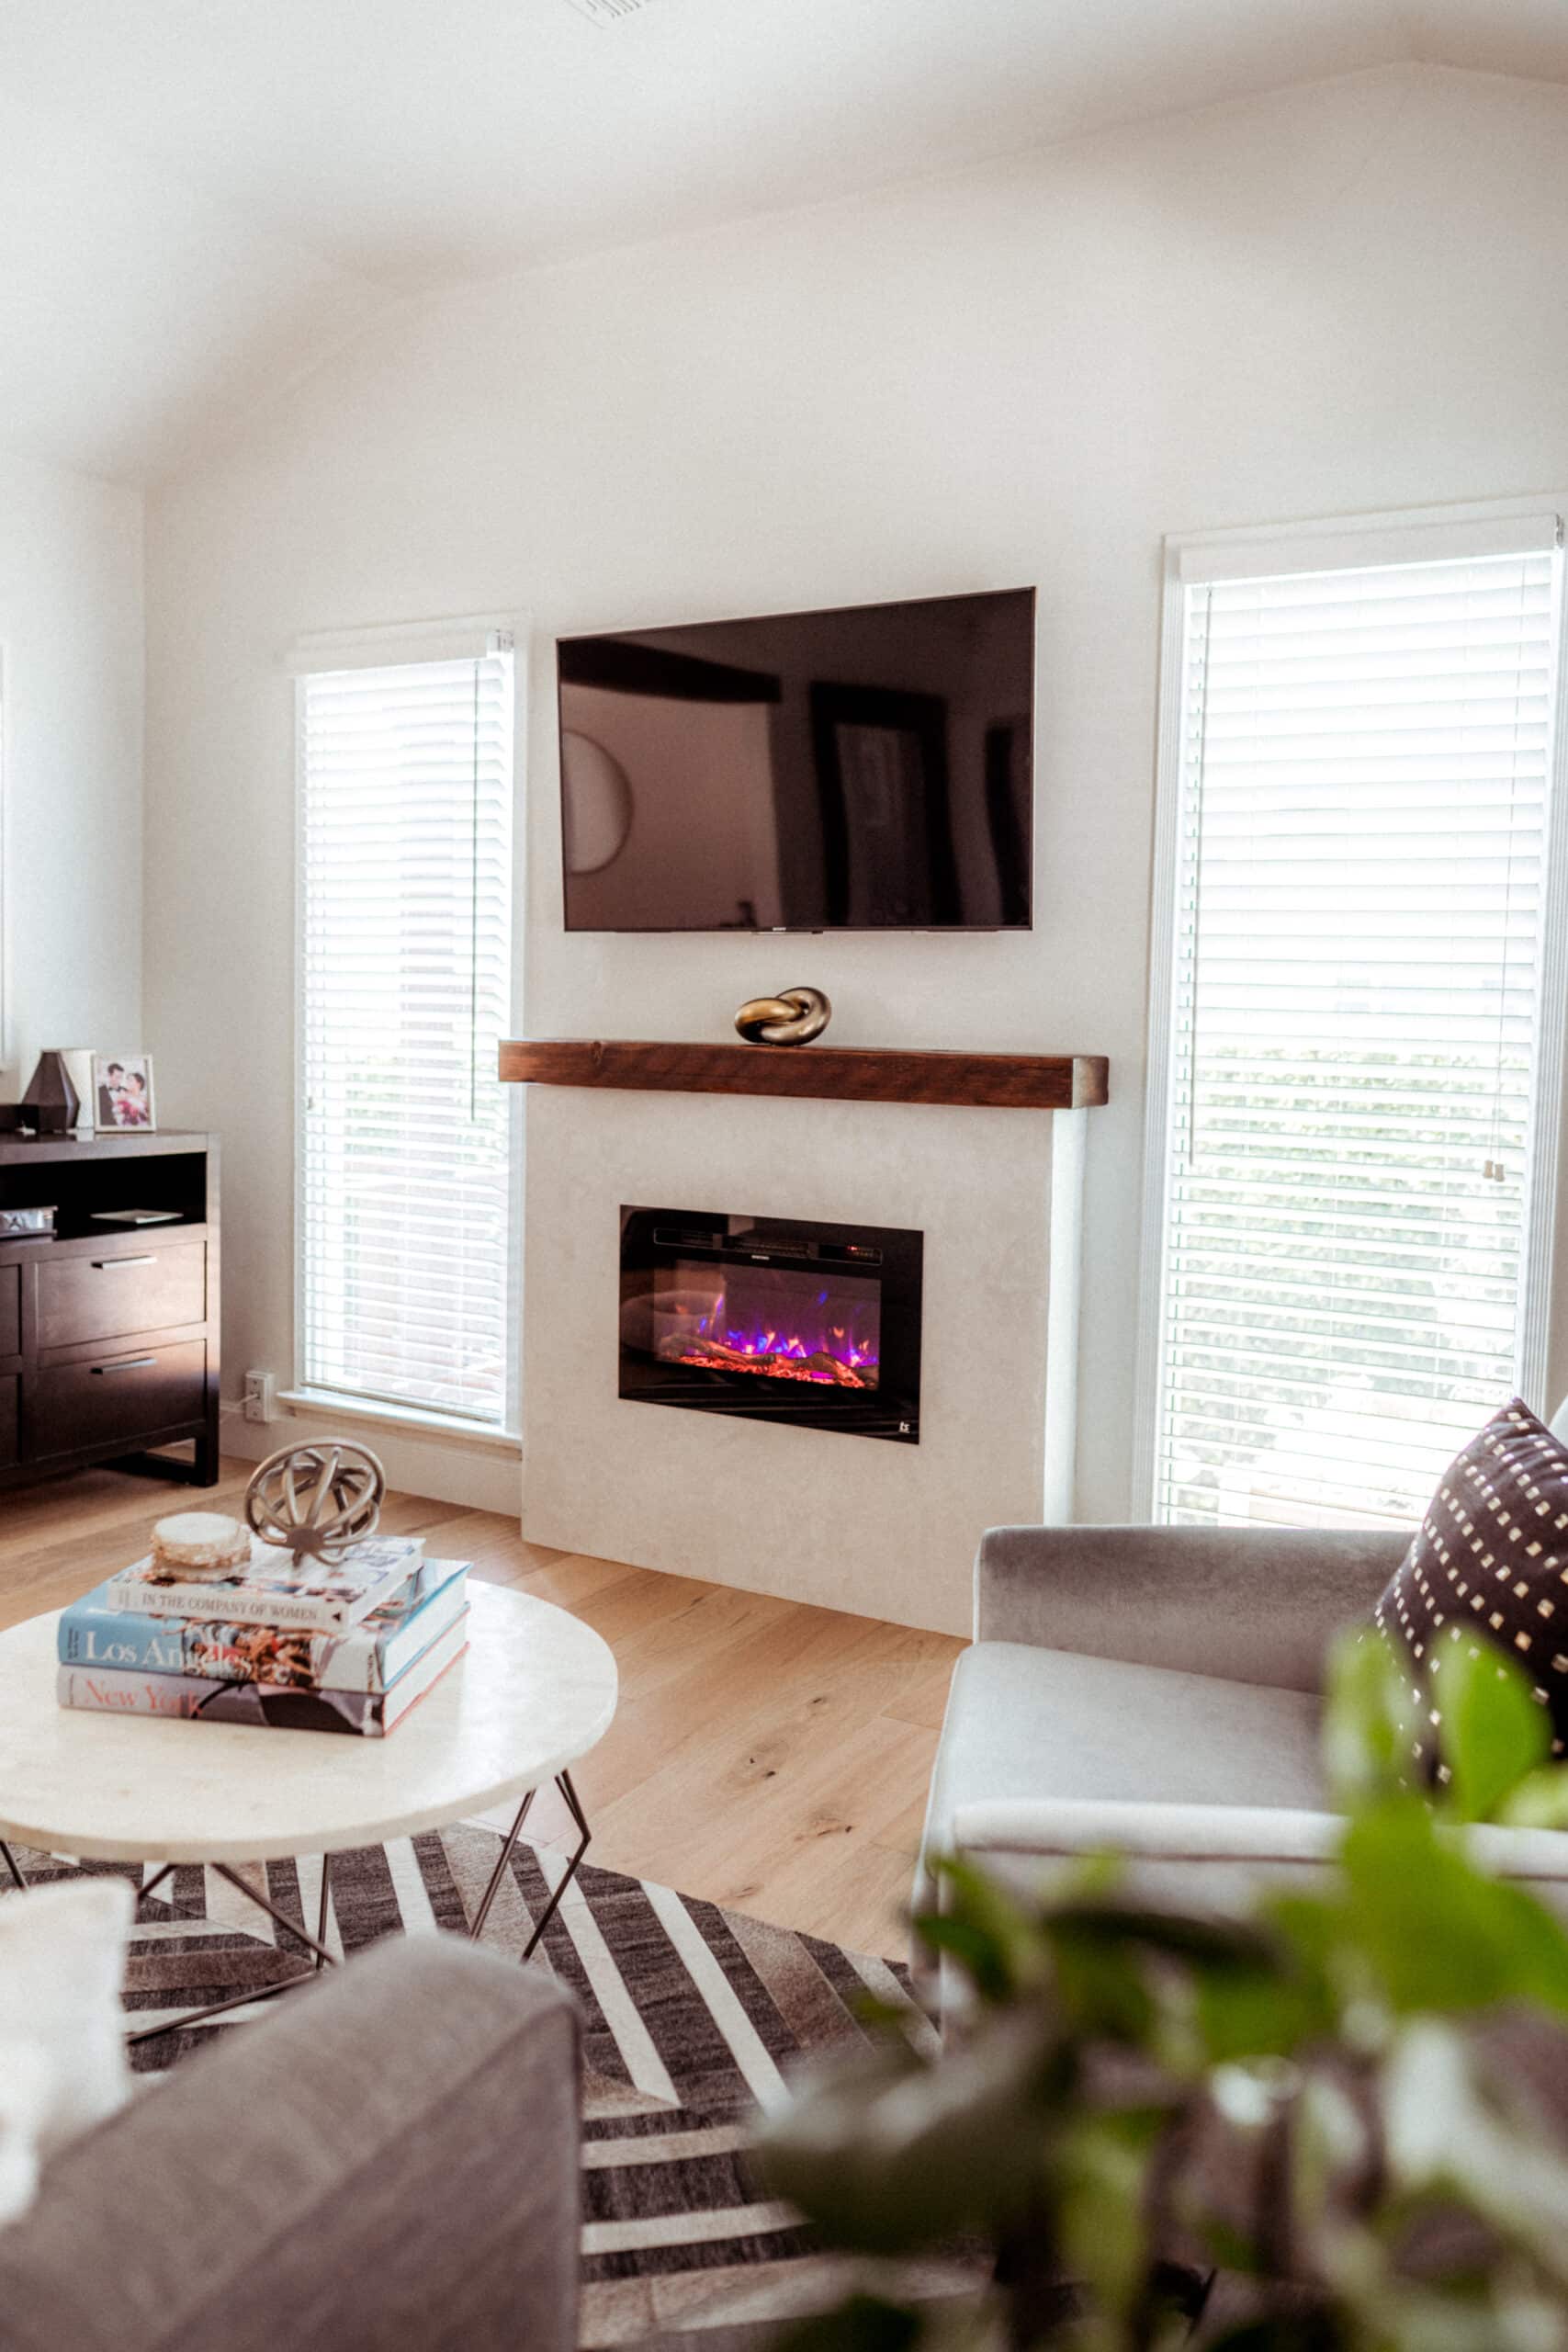
Fast forward to this year, when we finally decided it was time for new hardwood floors. I took this as an opportunity to finally rid my home of that red tile, and in turn, that meant time for a new fireplace! Our home was built in 1930, with Spanish touches. I wanted something a bit modern that also kept our home’s character and settled on a faux cement fireplace.
Our DIY Faux Cement Fireplace
Other than the idea to make one, I can’t take too much credit for our faux cement fireplace. My dad framed and built the entire thing! Here are the steps to how we build our faux cement fireplace.
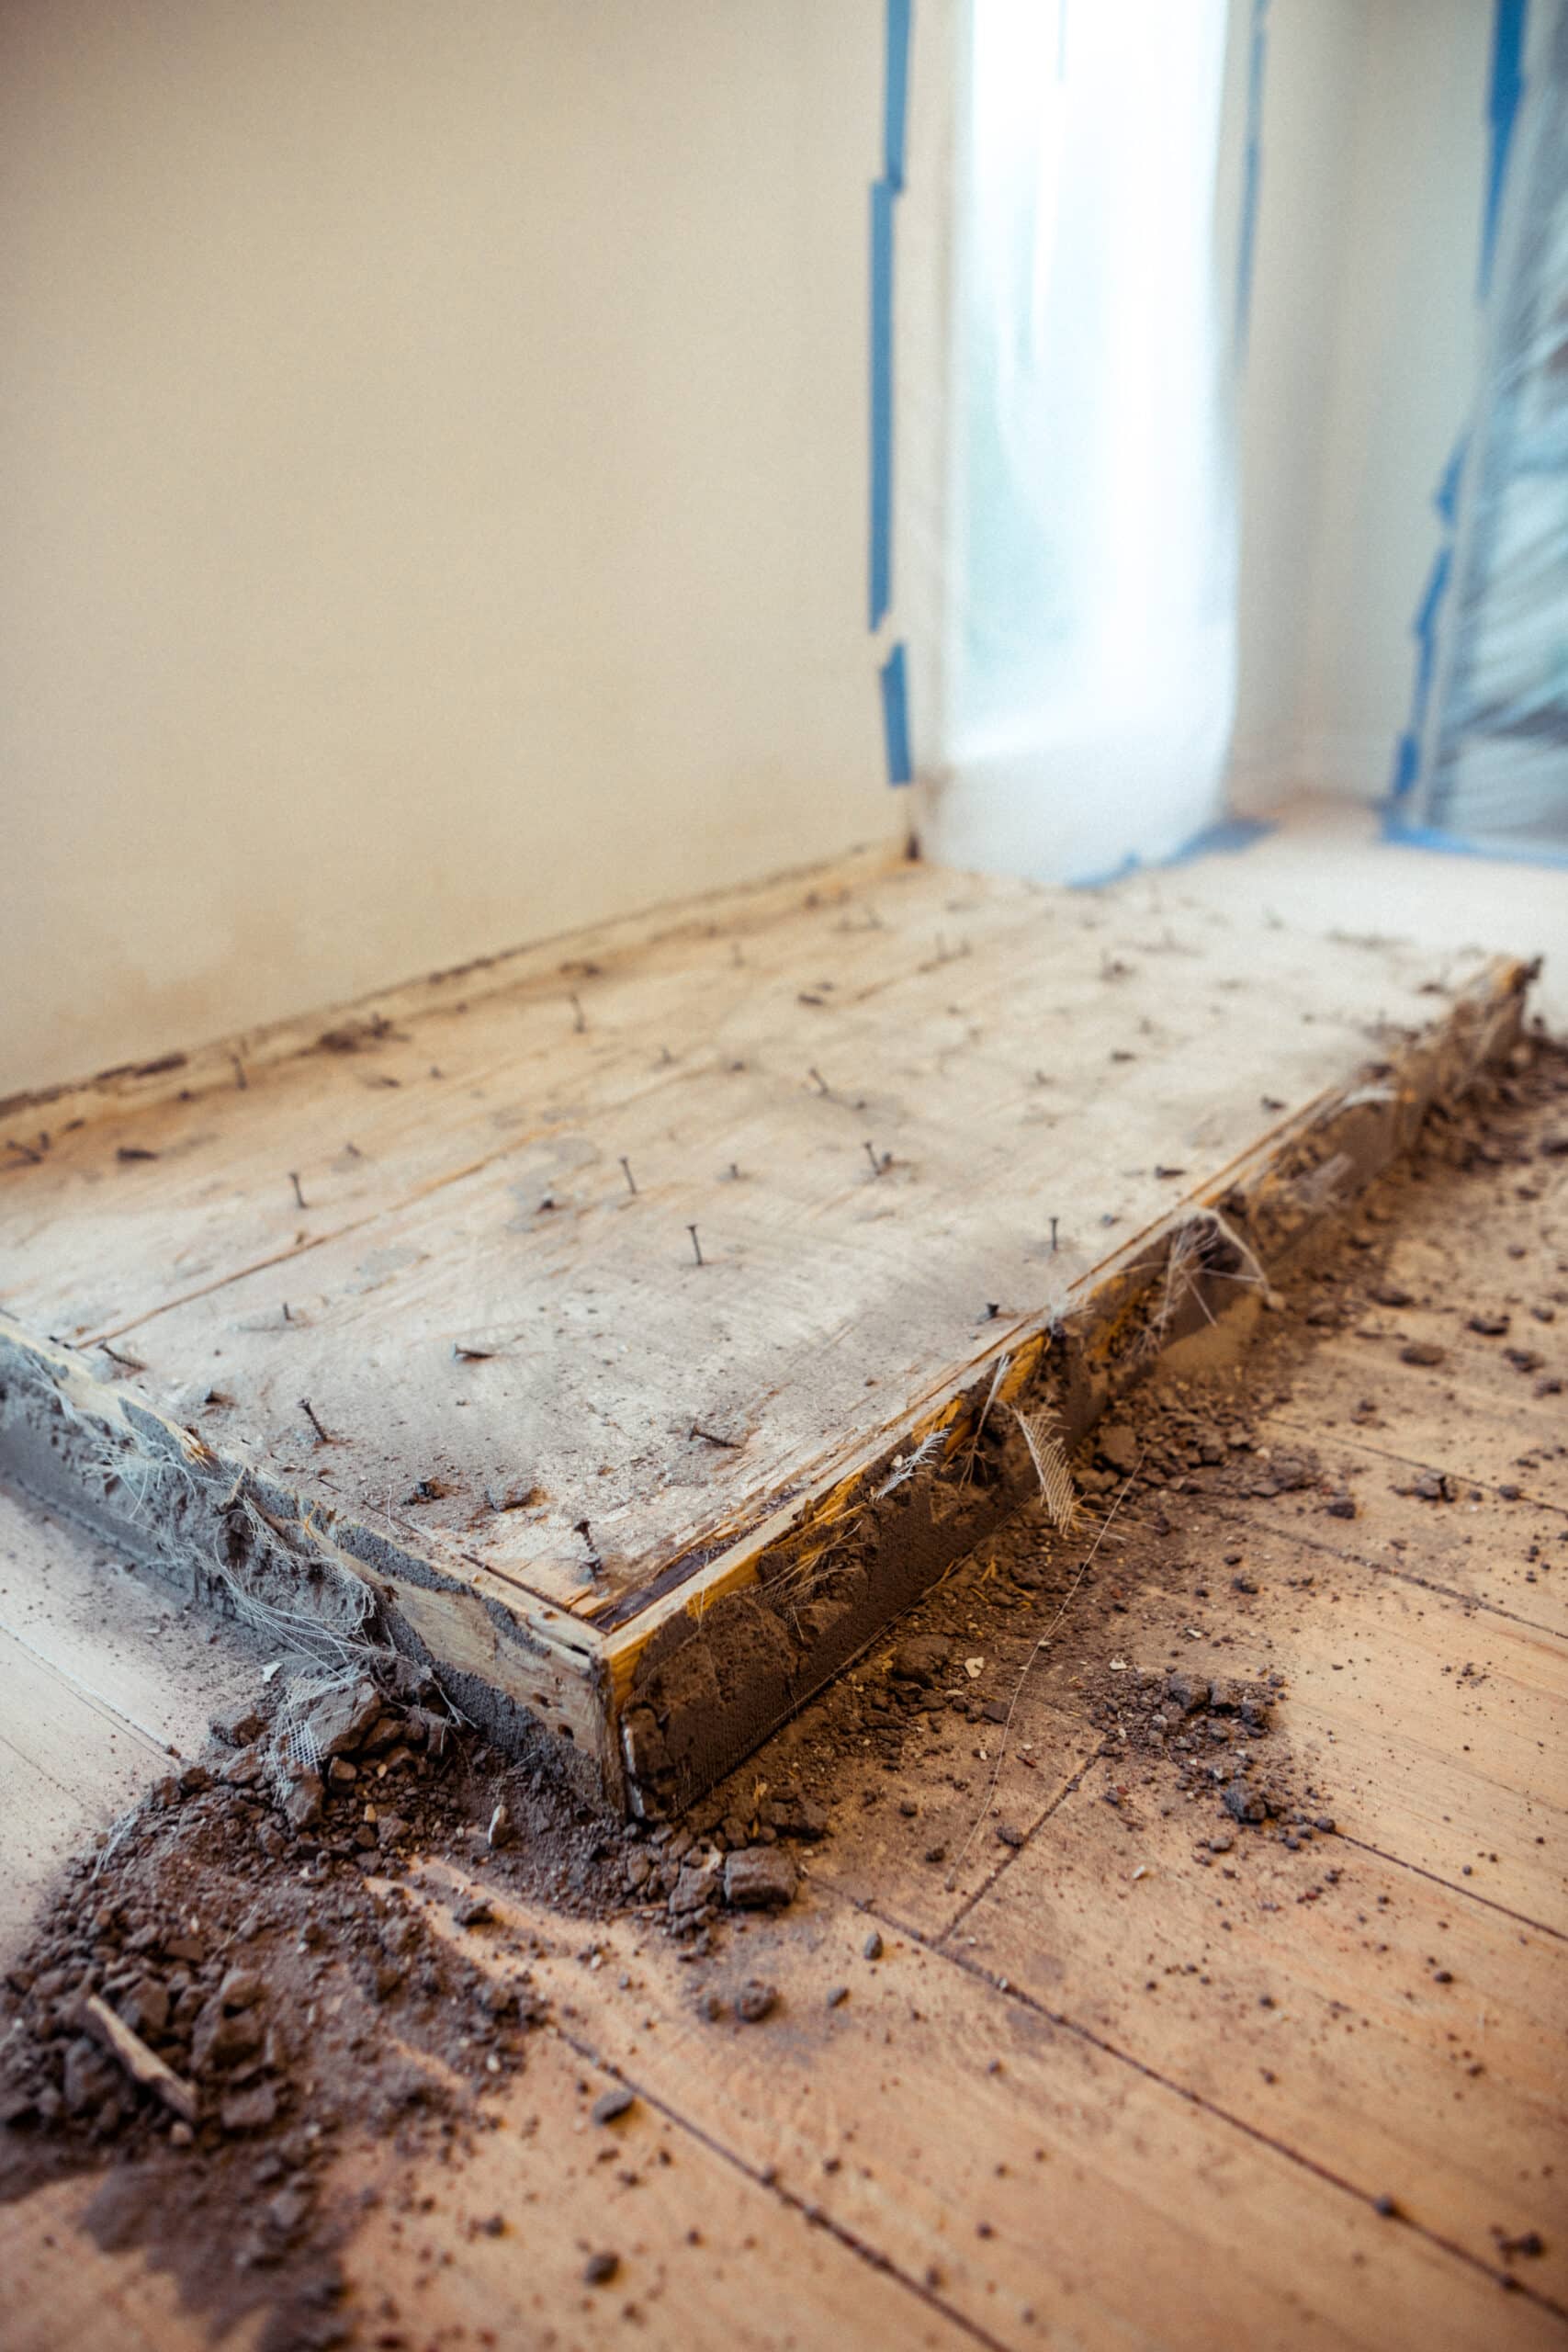
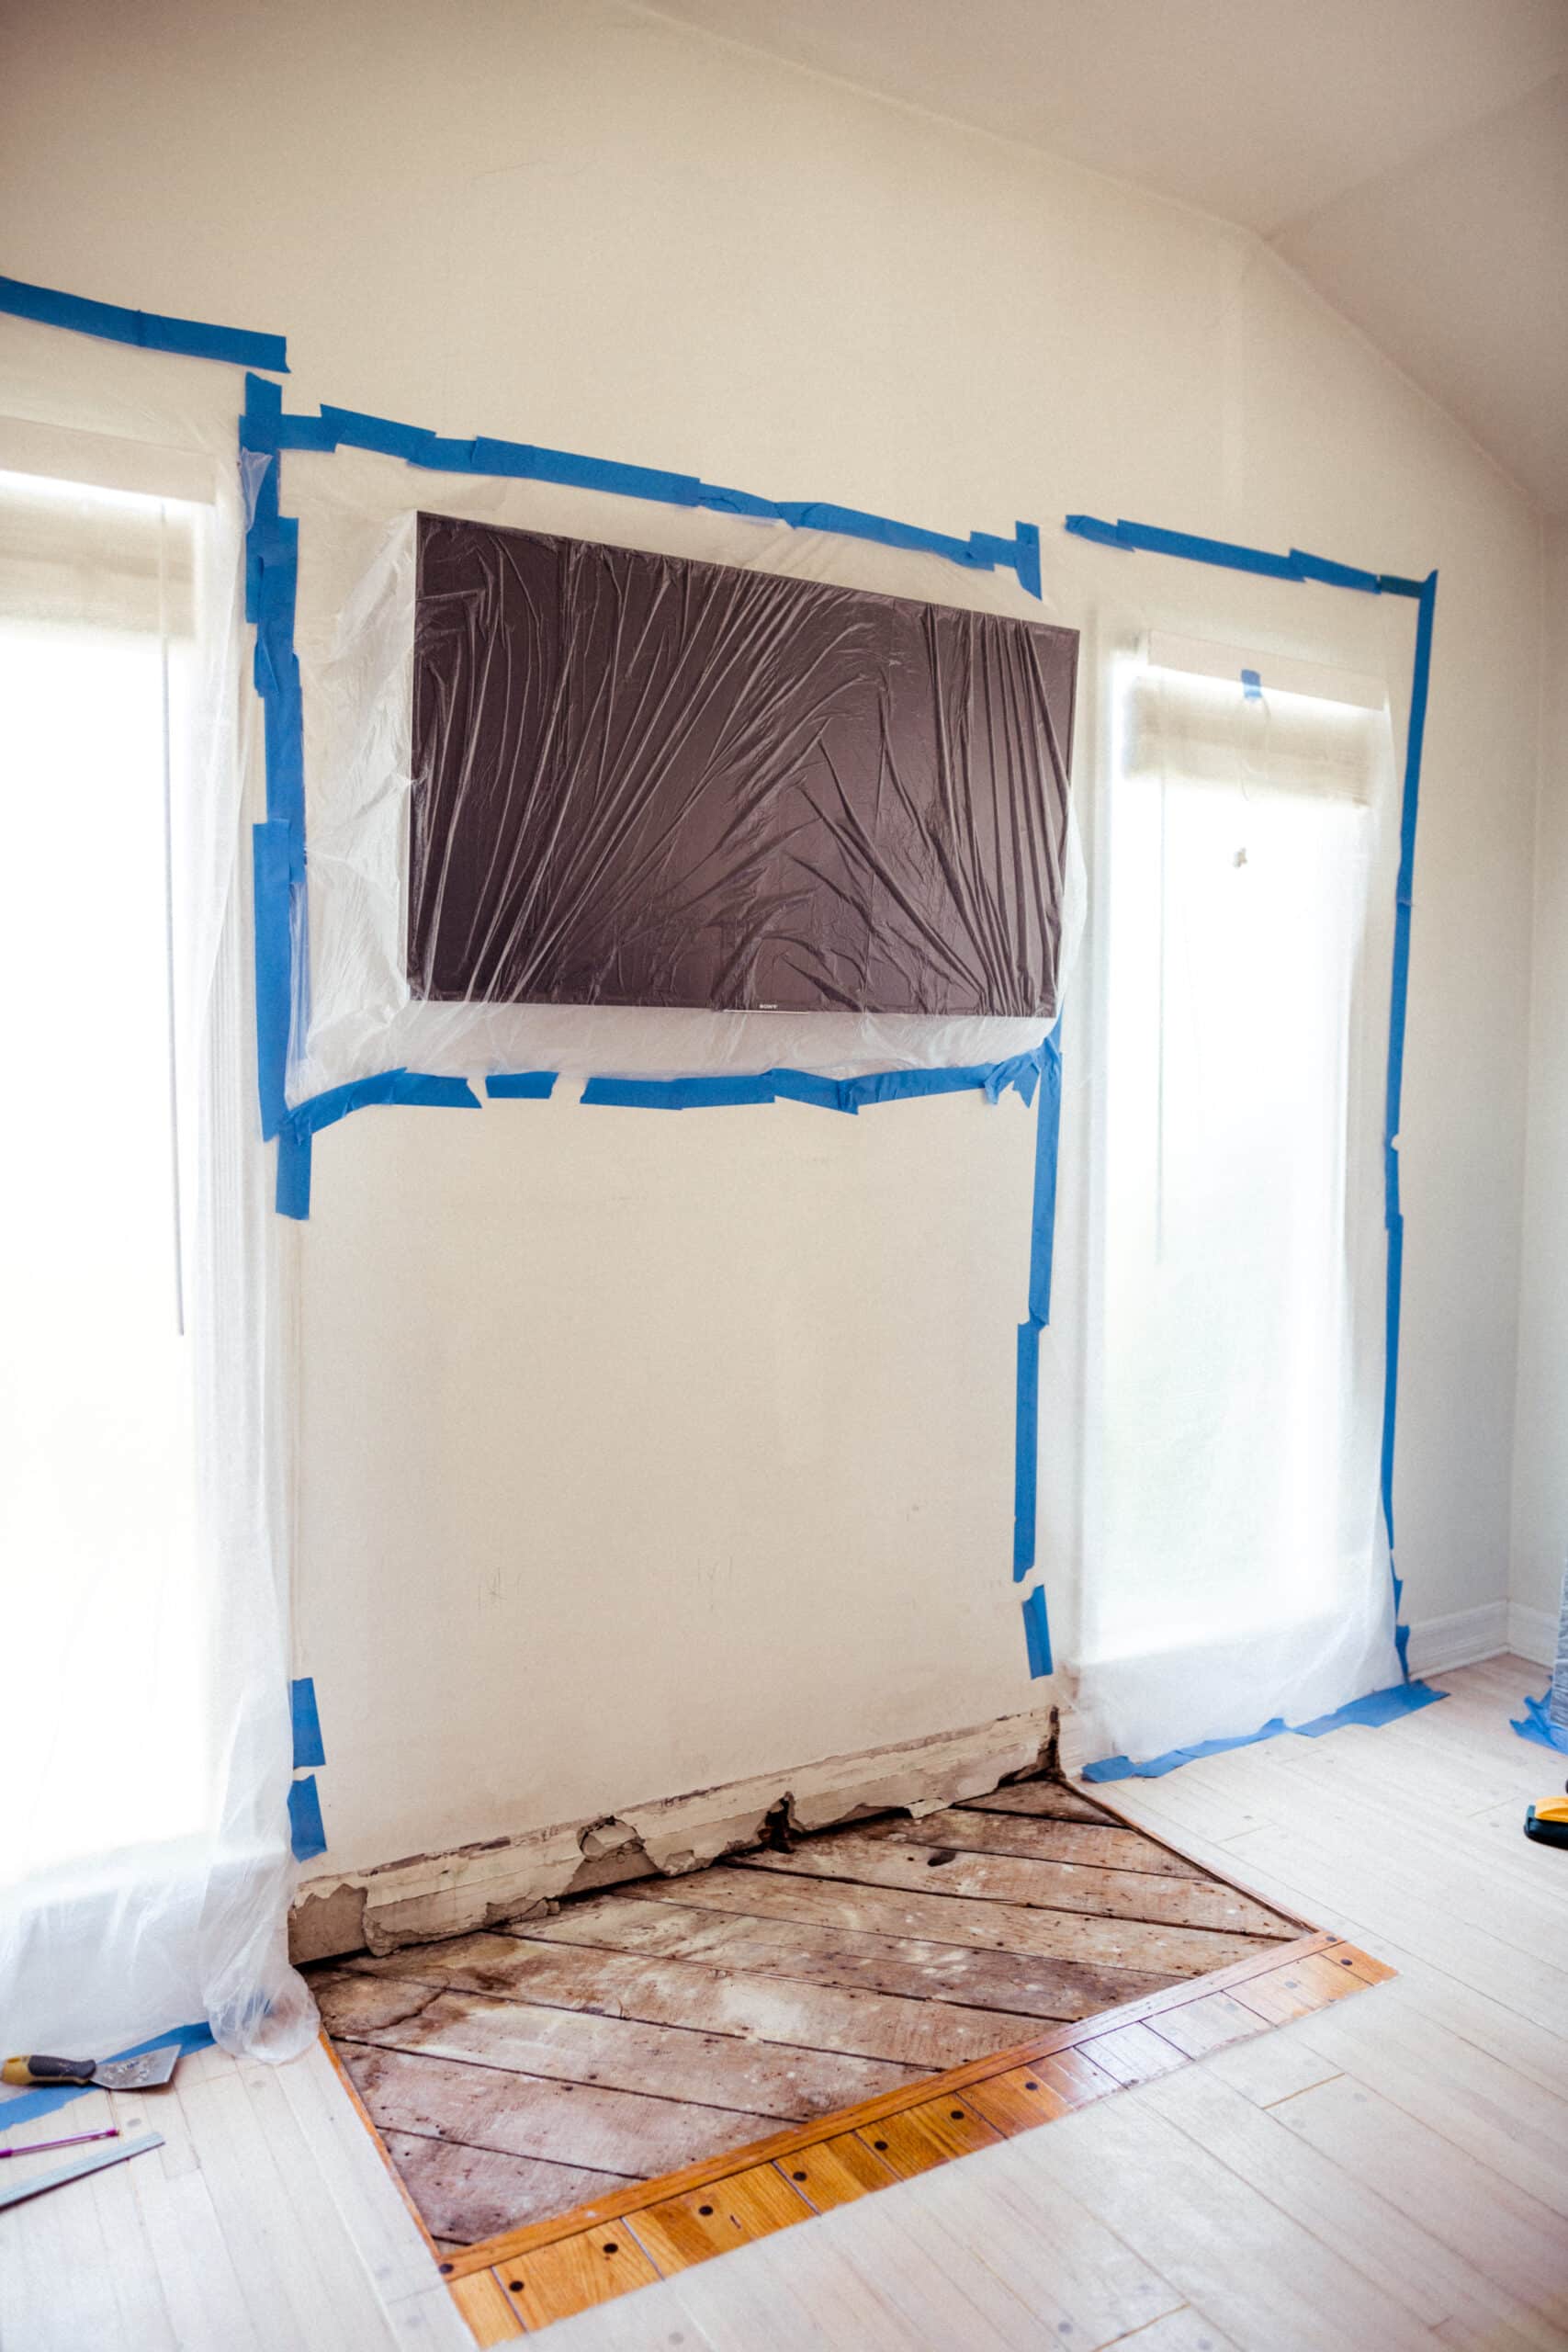
Step 1: Removed Old Tile
We took a power tool to the tile, which was cemented to a wooden frame that connected to the floor. Then we removed the wooden frame, exposing the original hardwood floor (and the orange color it used to be before we re-stained it).
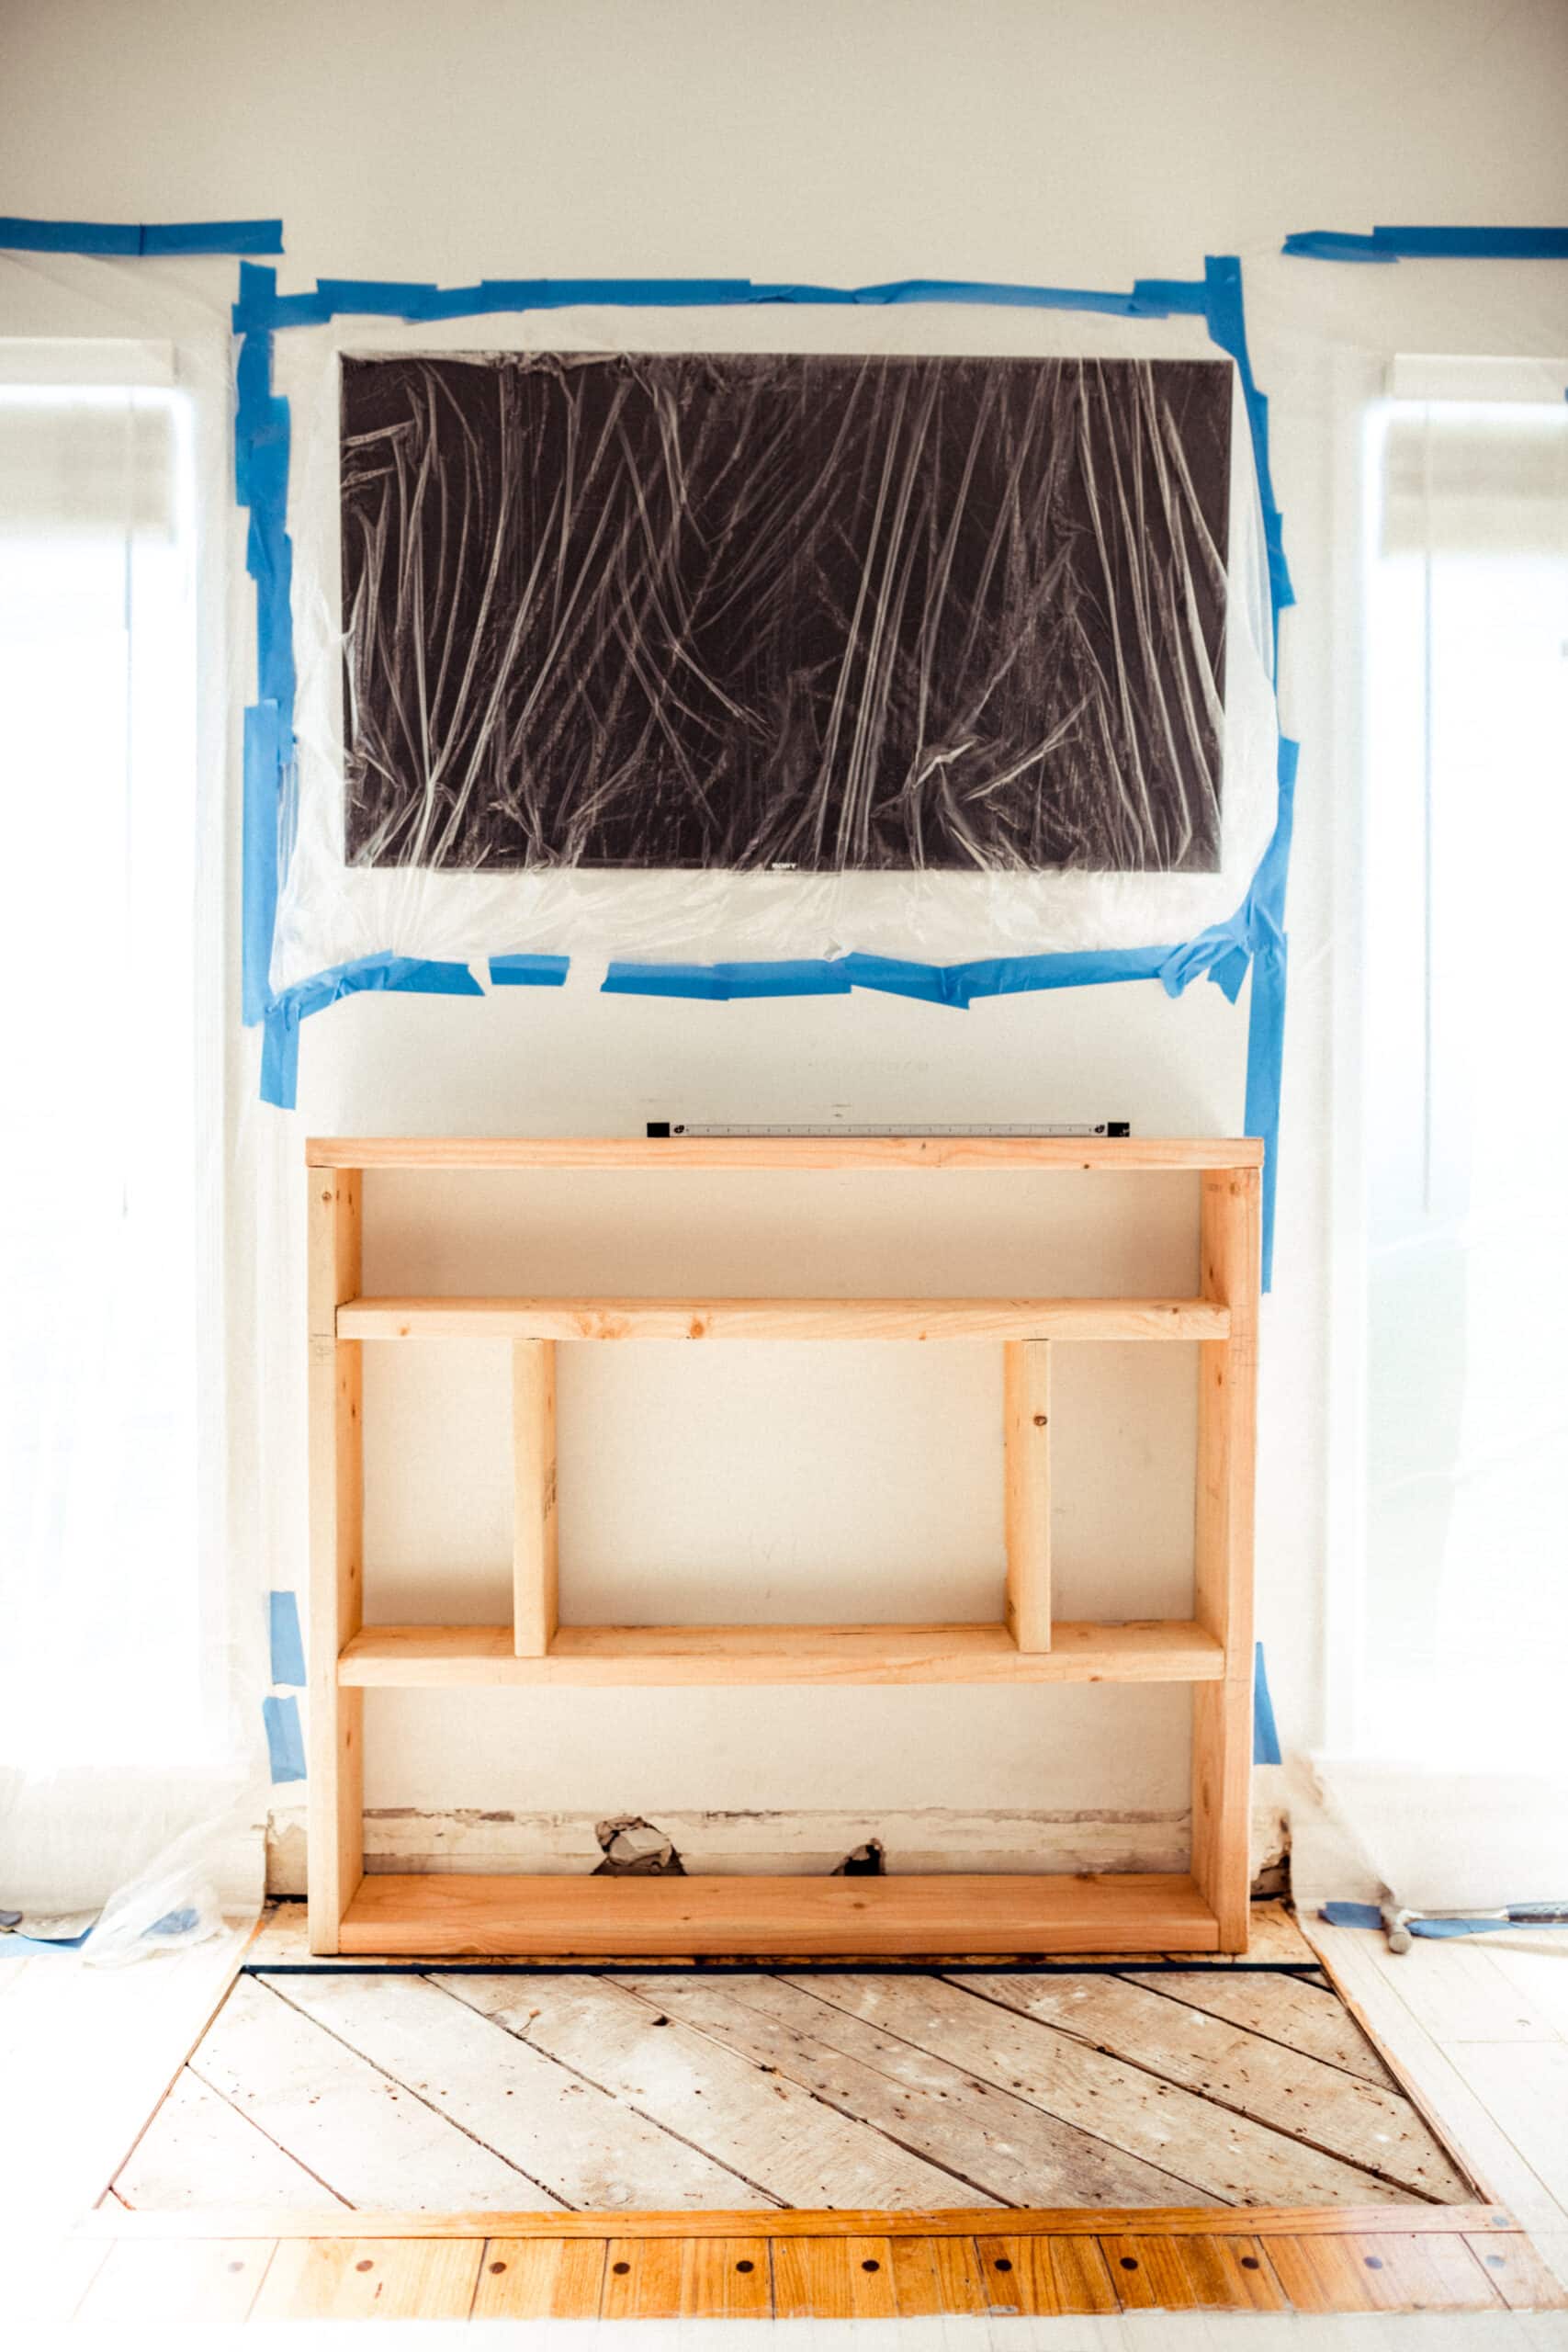
Step 2: Built the Frame for Our Faux Cement Fireplace
We have two long windows in our living room and didn’t want to mess with them, so had to build the frame for our faux cement fireplace within the existing area. Using regular 2×6 beams, my dad built a frame and then built a smaller opening that matched the size of our Touchstone Home Products electric fireplace.
It’s super important here to check sizing by inserting your fireplace into the opening. Then check again. Building out this frame took the longest, because it was also super important that the beams to the opening were level to avoid a tilted fireplace. Since our house is old, we basically have no level walls or floors, and nothing is a right angle.
Step 3: Wired and Tested Electricity
We ran electric to the opening of the fireplace. Be sure you are able to plug in the plug to your fireplace. We didn’t test this immediately and ended up having to cut out a portion of the 2×6 beam to fit the plug into the wall. We mounted the electric box sideways so that was could plug the cord into the outlet.
This could have easily been one of those, “oops” moments right at the end where everything is finished and then we couldn’t plug in the fireplace. Luckily, that didn’t happen, but here’s my official remind to anyone looking to redo a fireplace and add in an electric on.
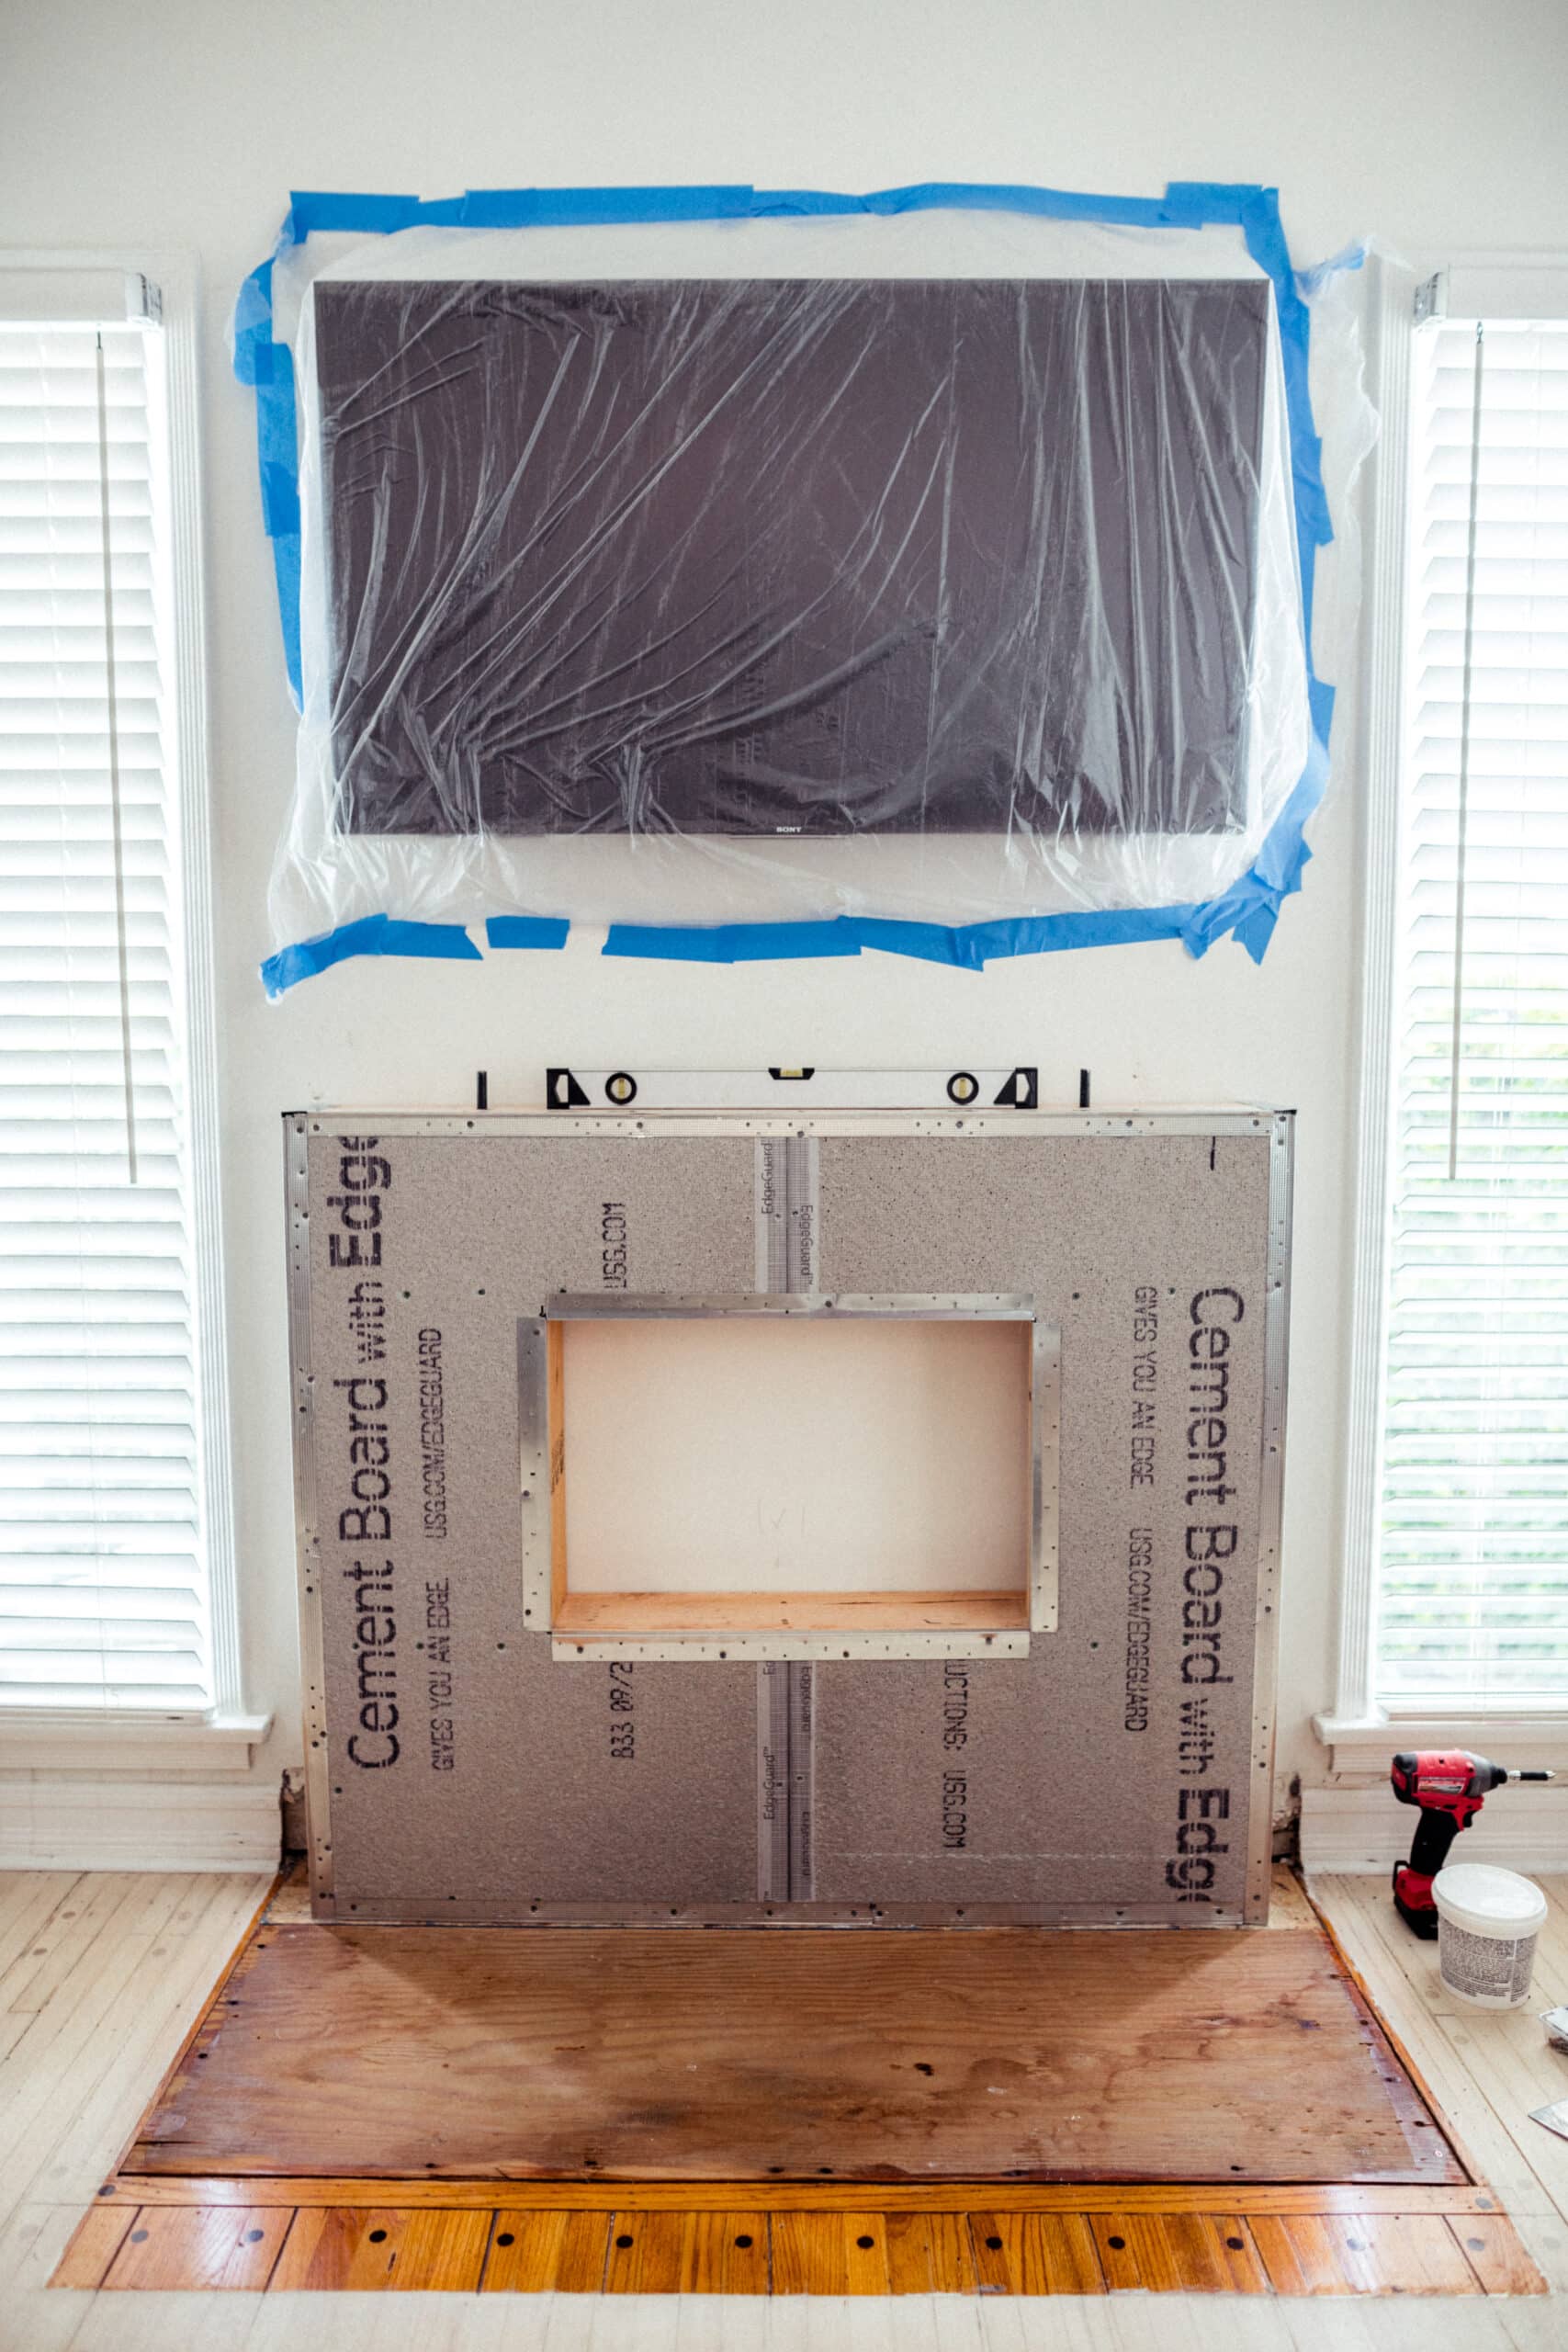
Step 4: Added Backer Board to Cover the Frame, Then Got to Work!
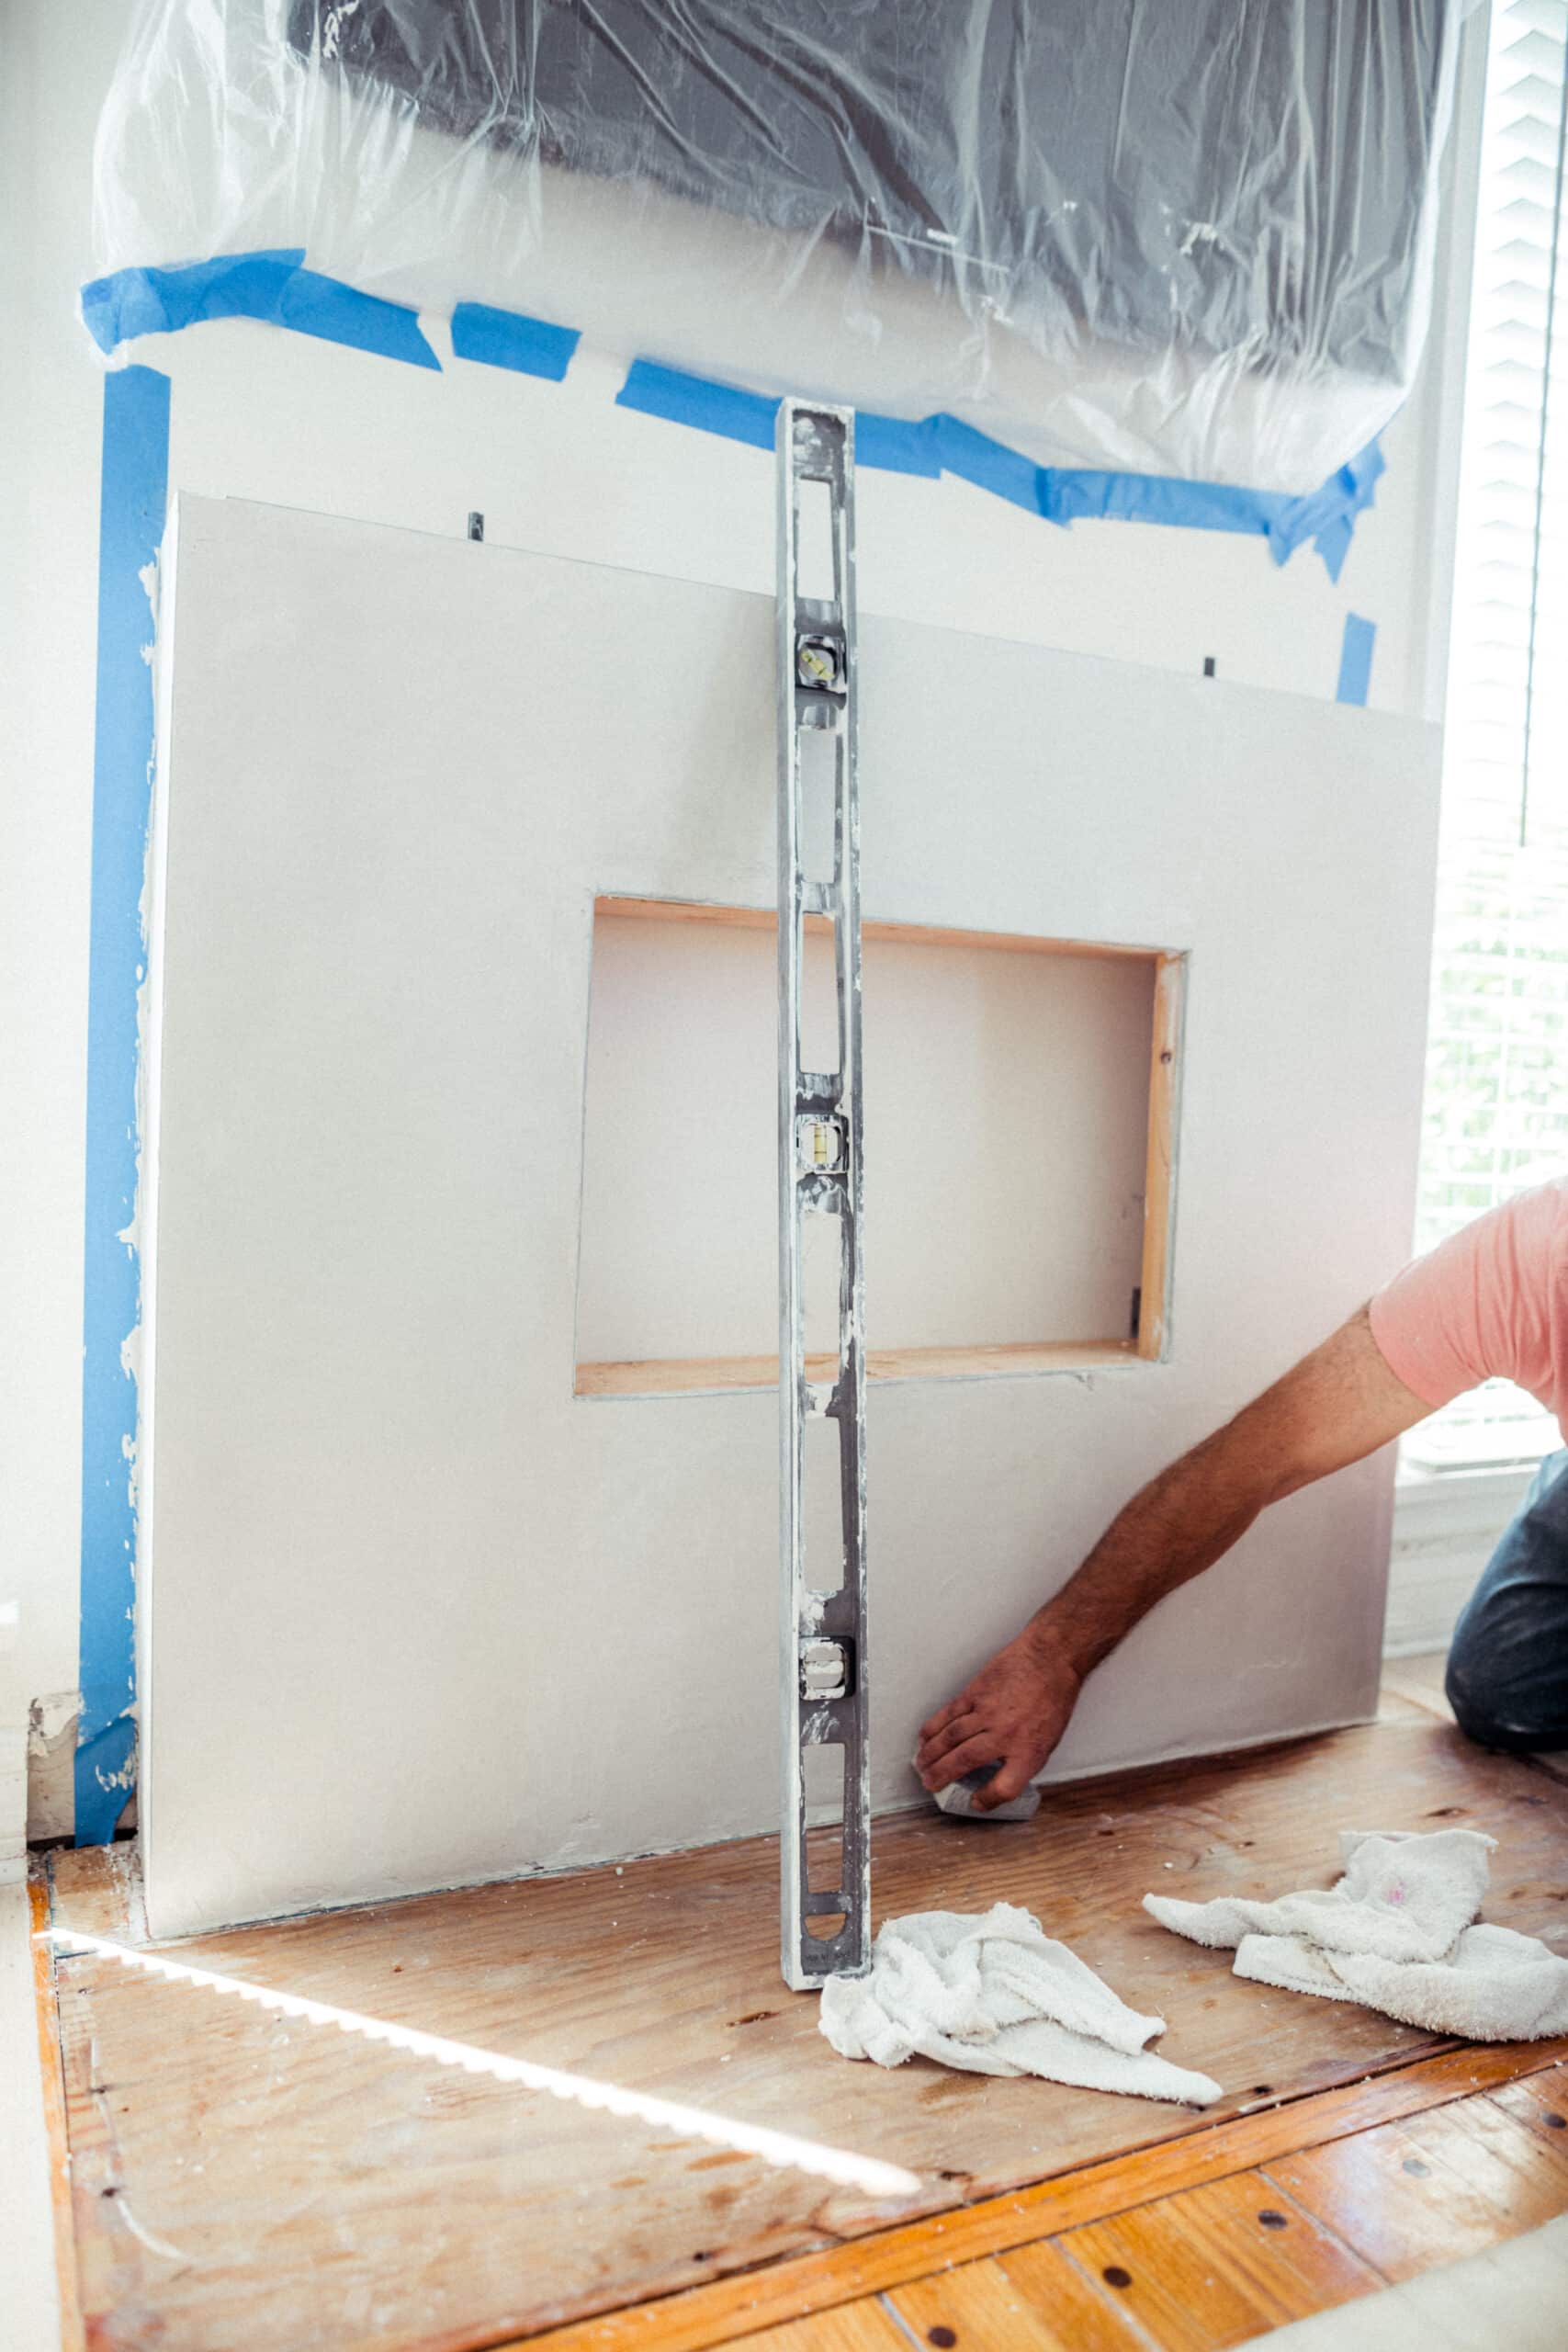
We used a backer board to create a surface for our faux cement finish. From there, we plastered the boards with diamond veneer. We mixed the veneer powder with water and used a trowel to apply from the bottom up.
You’ll need to apply a few layers to make it smooth, and after it dries be sure you sand out any uneven spots. Grab that handy level as you go and make sure you’re not sanding too much in any one spot.
This step was obviously the most critical step in the whole process because we really had to make sure the surface wasn’t lumpy.
Step 5: Attached the Mantle to Our Faux Cement Fireplace
We have a faux wooden ceiling beam that leads to our dining area, so I wanted to continue that into our living room. I have always loved the idea of a reclaimed wood mantle. We stained this to match the beam and our front door. I love the mix between the old reclaimed beam and the modernity of the faux cement fireplace.
When purchasing the beam, we had the shop drill two large holes at the bottom that fit the metal pins that came with it. From there, we drilled the pins into the top of the fireplace and placed the mantle over it to match the holes.
Be sure when you’re doing this you measure the distance from the edge of the wood to the center of each hole so that you can properly place the pins on the fireplace. If the pins are too far out, your wood beam will have a gap between its edge and the wall. Put them too close to the wall, and you won’t be able to put the mantle on at all!

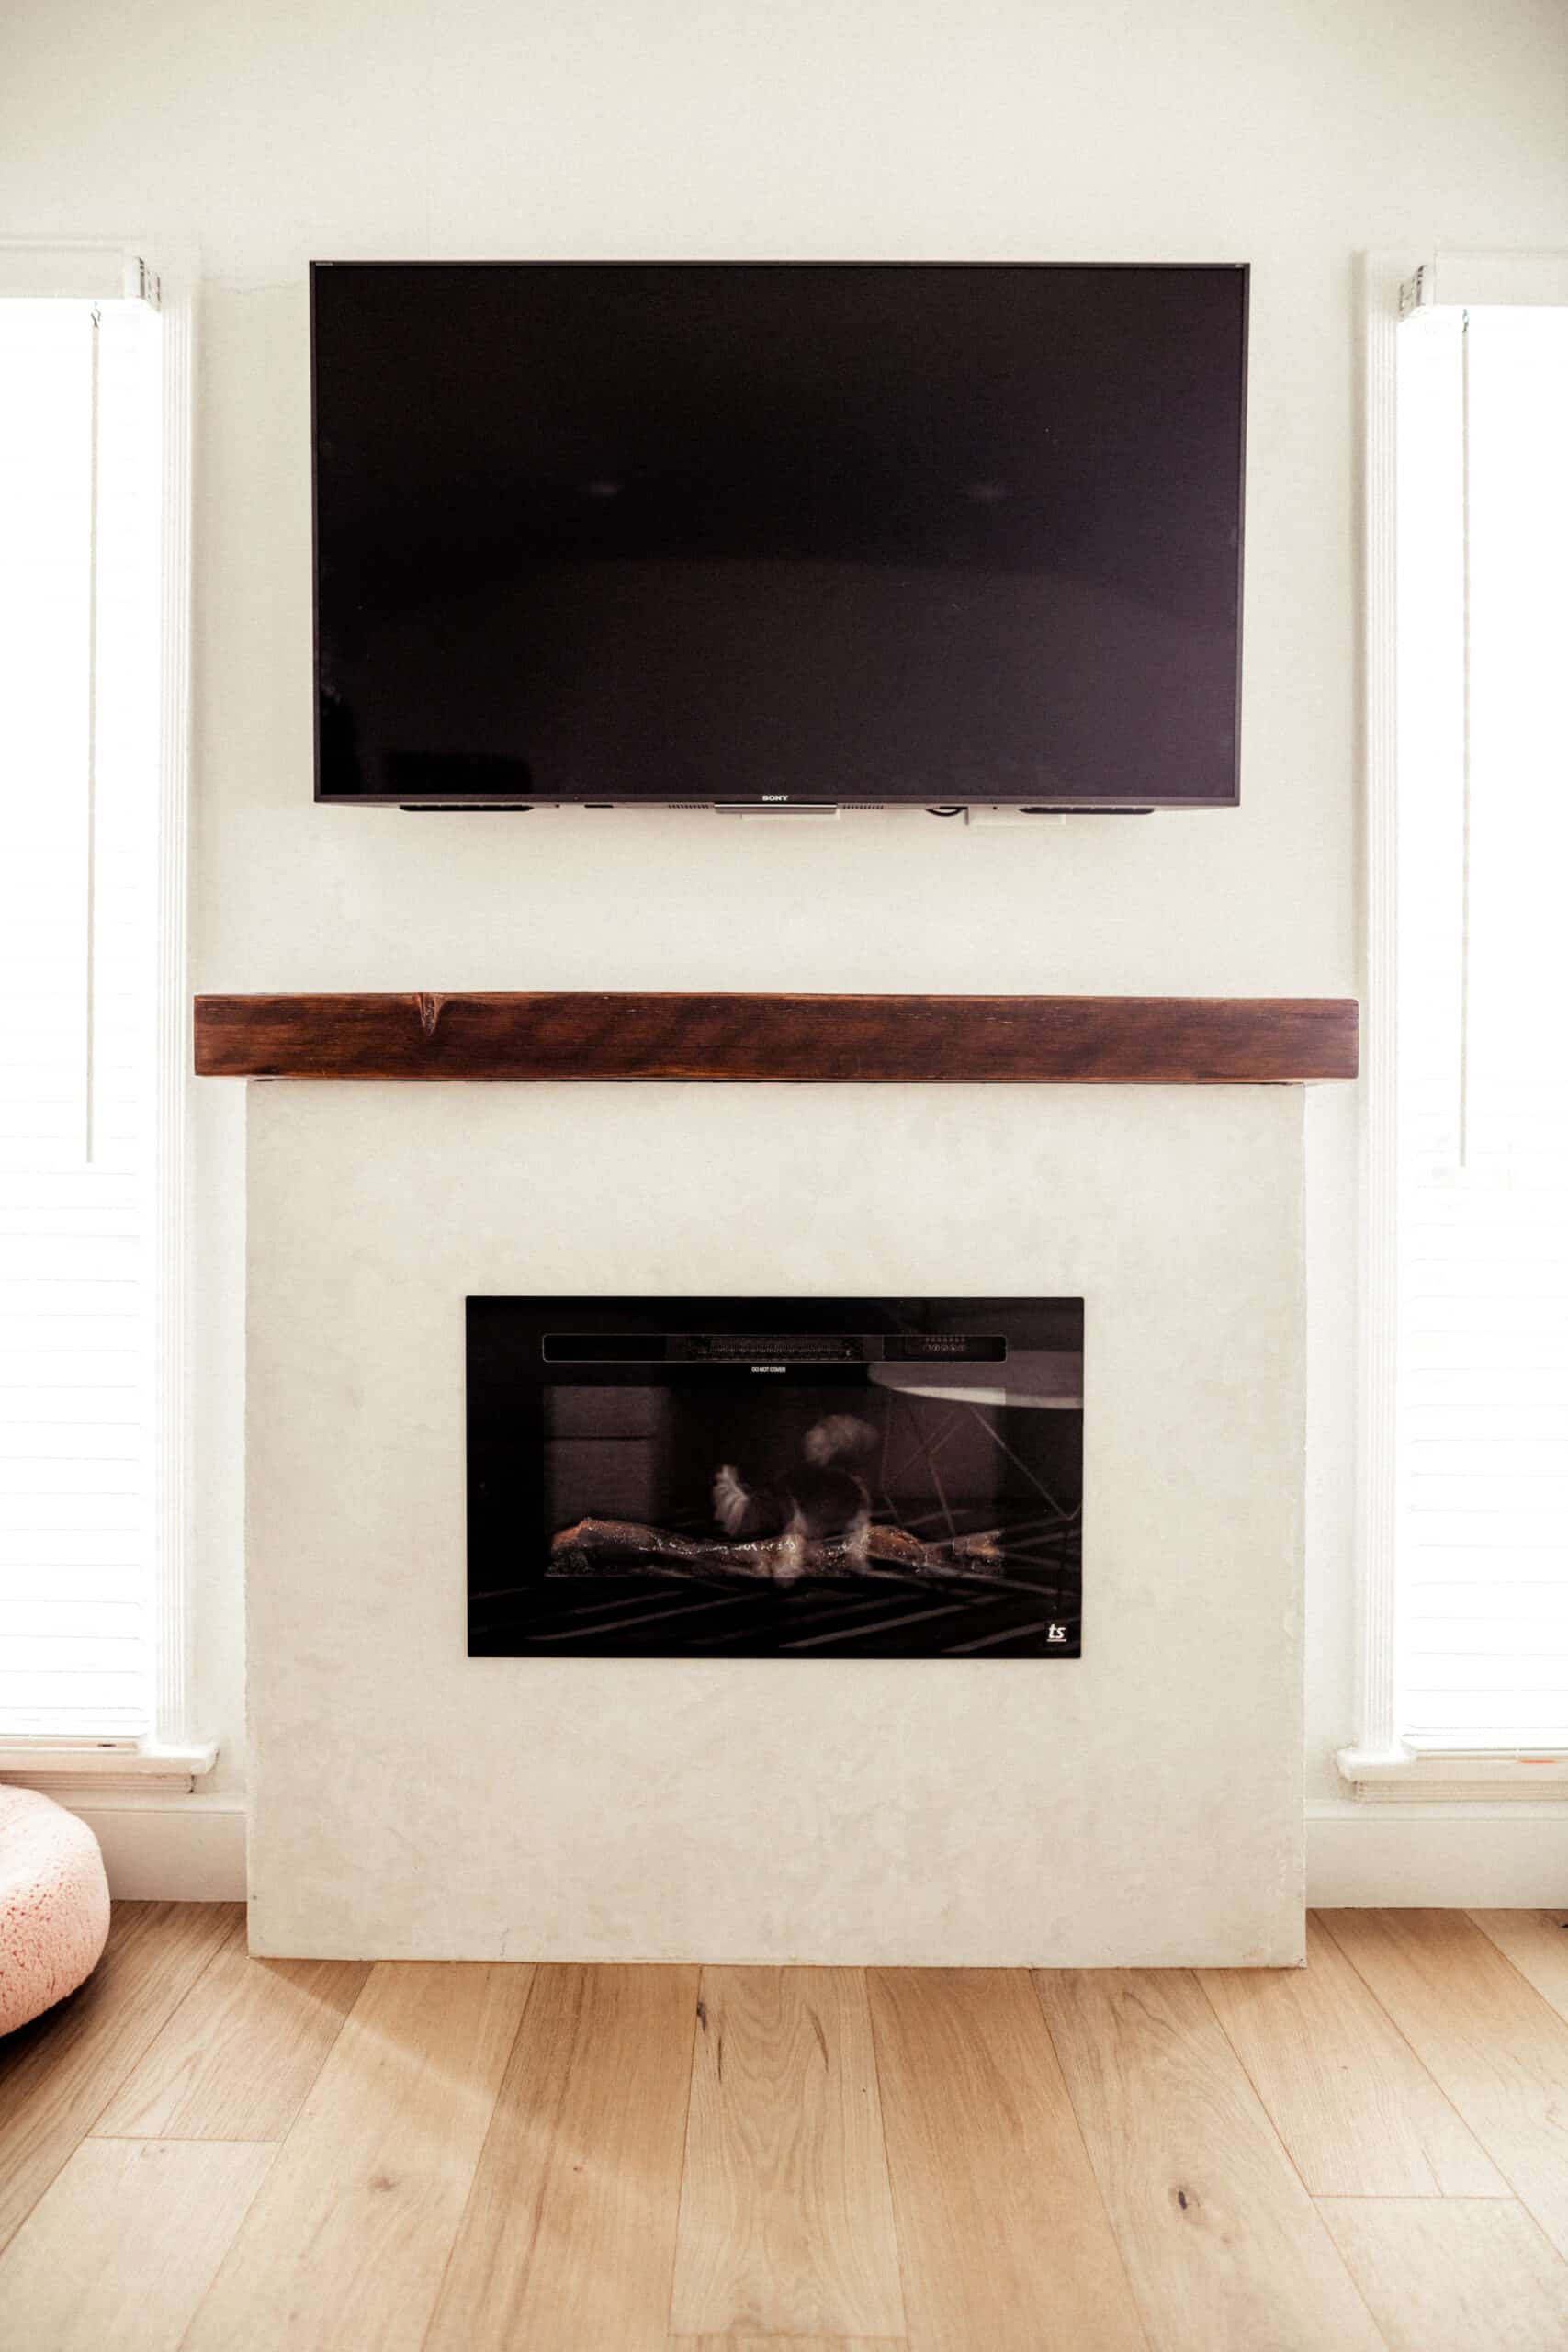
Step 6: Inserted the Electric Fireplace
The team at Touchstone Home Products was kind enough to provide this electric fireplace, so I want to highlight its features for a second. Our exact fireplace is linked here; it’s the 28” Sideline recessed electric fireplace.
It’s super sleek and has tons of options. For starters, you receive a faux wood insert and faux glass, so you can swap out what’s inside your fireplace whenever you want. You can also adjust the color and strength of the “flames.” But what is super awesome about this electric fireplace, is you can turn on the flames with or without heat. This has been my favorite feature because we’re able to enjoy the look of a fire without overheating in our house. But once it finally cools off, we’ll be able to actually warm up our living room.
A lot of electric fireplaces are either just for aesthetics and don’t heat, or only heat. It’s super cool that Touchstone Home Products has figured out an electric fireplace where you have options. We have enjoyed turning on our fireplace almost every single day that it’s been installed.
I am so happy with how this faux cement fireplace turned out, and super lucky to have a dad that knows how to build this stuff!
Also, can we just talk about the new hardwood floor for a second? I am beyond obsessed with with whole thing. (Our exact floor is European Oak in Anzio by Reward Flooring.)
If you have any DIY faux cement fireplace questions, leave them below! I probably can’t answer much, but I can ask my dad!


One Response
What product / color did you use for the cement coating? Is that cement or plaster?