These DIY glitter pinecones are a fun way to add some sparkle to your home for the holidays, and you wouldn’t believe how easy they are to make! Below I’m sharing step-by-step instructions on how to make them.


I have always loved crafts, especially around the holidays. Growing up, I had a yearly tradition with my Dad where he’d take me to Michael’s, and I’d plan a surprise craft for my mom as a gift. I made a Christmas craft for my mom as far back as I can remember, right up until a few years ago when she told me she’d run out of space for more holiday décor. Over the years these ranged from little foam snowmen (my first craft for her!) to floral arrangements. One of my favorite Christmas crafts though, has been these glitter pinecones.
I decided to make some of my own glitter pinecones this year to put on our new fireplace mantle. They’re simple but pretty. Although you have to make these over a few days (to dry between steps), they only take about 15 minutes each day.
DIY Glitter Pinecones
What You’ll Need
- Elmer’s Glue (I like to use Glue-All)
- Spray Paint (I used silver, but gold works, too!)
- Pinecones (They sell bags at Michael’s and even Trader Joe’s)
- Glitter
- Two paper bowls or bowls you’re okay messing up
- Newspaper or another type of covering to protect your workspace

How to Make Your DIY Glitter Pinecones
Lay down some newspaper in your chosen crafting area. Make sure it’s some place you’re okay leaving “in progress” for a few days, like a spare room or garage. You have to let these pinecones dry between steps, so you’ll have to leave things out for a little while.


Step 1:
Lay out your pinecones one by one onto your newspaper. Grab your spray paint and spray all around them. I did this in my garage, so it was easy to spray, then turn the paper to get all of the angles around the sides of each pinecone. Let dry for a few hours or overnight.
Once your pinecones are dry, turn them over, on their sides, etc., and spray again to cover any spots you may have missed the first time. Let them dry again.
After you’ve gotten your pinecones covered as you want with your spray paint, then you’re ready to make them glittery!
Step 2:
Set up two bowls. Fill one with glitter; you’ll need to pour a substantial amount so don’t be stingy. In the other bowl, squeeze out a decent amount of glue (enough to catch onto the pinecone sides).

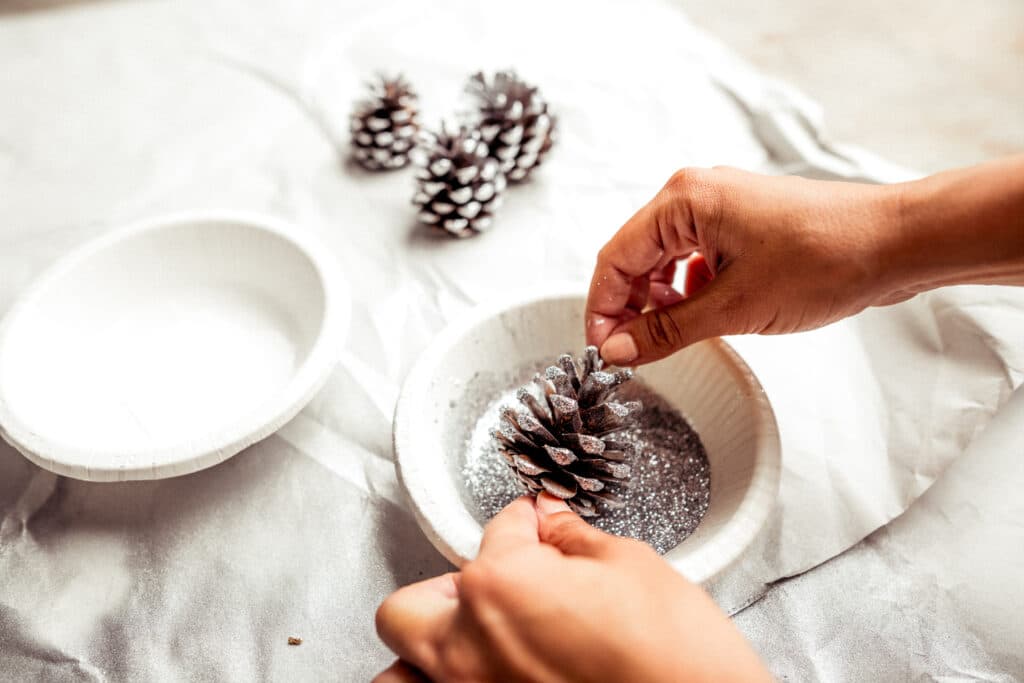

Step 3:
Take your pinecone and roll it into the glue so that all of the tips get covered. Then take your pinecone and repeat the same action in the glitter. Repeat with all of your pinecones, then let them dry overnight. When they’re nice and dry, be sure to shake off any excess glitter otherwise.
Did you know that these glitter pinecones were that easy to make? I put mine in an oblong bowl from Crate & Barrel for our mantle, but these would also look great in a bowl like this one as a table centerpiece. If you’re feeling extra crafty, you can wrap some twine or ribbon into the pinecone prongs and hang them as ornaments!
If you’re looking for another holiday craft this season, take a look at my post on how to make DIY Eucalyptus Garland.