If there is one place in the home that I organize religiously, it’s our kitchen pantry. I try to keep our kitchen cabinets as tidy as I can, but every season I like to embark on a giant kitchen pantry organization project to start the year fresh. Today I’m sharing my favorite pantry organization ideas and storage solutions to help your declutter your kitchen cabinets.
By the time you’re done organizing your cabinets, you may even realize you have extra pantry storage space to spare!


Kitchen Pantry Organization Ideas
Prepping for Kitchen Pantry Organization
Take Everything Out
Before you start organizing your pantry, take everything off pantry shelves and out of any drawers. This means all food, pots and pans, and small appliances. Set everything onto your counter so that your can see your entire inventory of kitchen tools, appliances, and food items.
Toss Expired Items
First, toss any expired food items. This is a super quick way to instantly reduce clutter and gain extra storage space. If an item doesn’t have an expiration date and you can’t remember when you may have used it as an ingredient for something, that goes, too.
By doing this, you can start with a clean slate and be sure that you’re only organizing fresh, edible items.
Separate Pantry Items Into Categories
Once you’ve gotten rid of all the old stuff, take a look at your remaining inventory and break everything up by type of food categories. This can be as generic as “snacks” or as specific as “nuts” so long as it makes sense for you.
Here are a handful of categories in our kitchen pantry:
- Breakfast
- Snacks
- Bars
- Nuts & Seeds
- Baking
- Pasta & Grains
- Vitamins
Deep Clean Your Cabinets and Drawers
Before you start to put everything aways, give your kitchen a deep clean. You’ve already taken out everything, including pots, pans, and appliances, so kill two birds with one stone here and use it as a cleaning opportunity.
Wipe all pantry doors, shelves, drawers, and handles with a wet wash cloth and cleaning spray. This is also a great time to wipe down any kitchen appliances, since they often acquire dust even when not in use and stored.

How to Organize Food in Kitchen Cabinets or Pantry
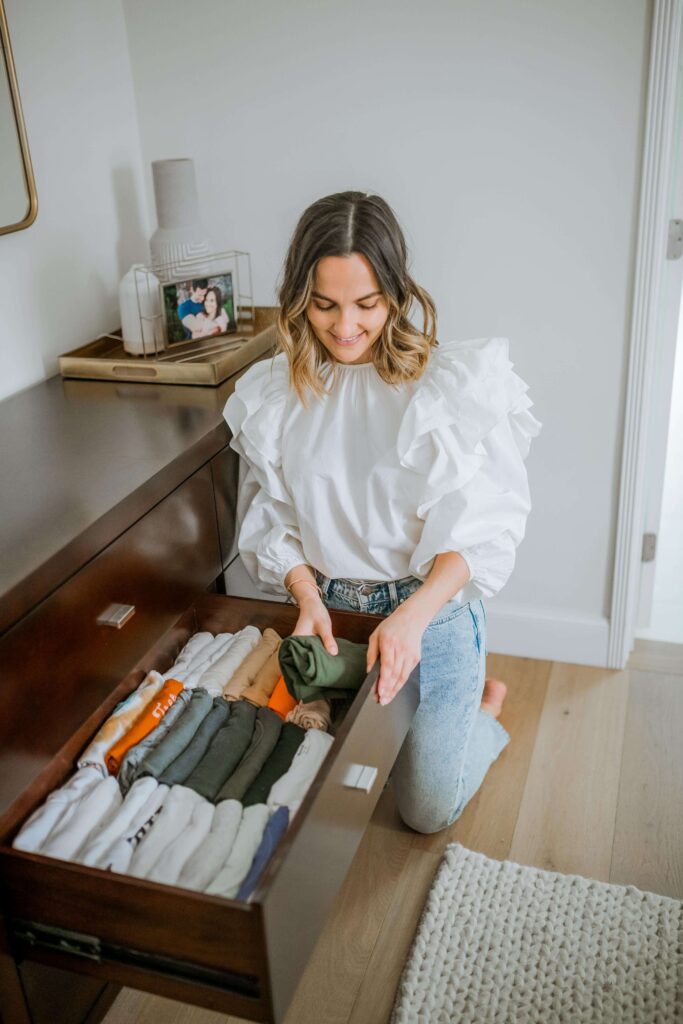
Store Food by Category in Bins or Baskets
Once you’ve sorted your pantry items by food type, you’ll be able to see how much space to allocate for each category. I like to use large, clear bins to organize the food in my kitchen cabinets. Pantry bins provide organized chaos and they make it a lot easier to reach items toward the back of your shelves.
When picking out bins for your kitchen pantry organization project, be sure to measure the width, height, and depth you need.
Bins come in all sorts of depths and heights, so this is a critical part in organizing. Measuring in advance and knowing your cabinet dimensions saves a lot of back and forth with returns or store visits.
I prefer bins that are at least 6” tall so that you can carry or move them without the contents falling out.
Use Clear Canisters to Keep Items Fresh
In addition to giving your pantry a more streamlined and aesthetically appealing appearance, clear food storage canisters help keep things fresh.
I like to decant bulky packaged goods, bagged food, and things that go stale quickly into clear food canisters. This includes items such as cereal boxes, rice, pasta, flour, and sugar. I like this clear container for cereal, and use OXO POP containers for pasta, baking ingredients, and nuts.
You can place these canisters directly onto your pantry shelves or put smaller ones inside clear bins.
For larger items, you may notice that not all of the contents fits in the canister. When that happens, I put the package in the back stock section of my kitchen pantry.
Keep a Section for Back Stock Items
Creating a dedicated back stock section really changed kitchen pantry organization for me. It’s a great organization hack that declutters eye-level pantry shelves, but it can also prevent overspending at the grocery store and provides peace of mind that you have some extra food or pantry staples in an emergency.
“Back stock” is a designated area within your pantry reserved for surplus shelf-stable foods, along with partially used bags of items such as flour or sugar that couldn’t entirely fit in your pantry canisters during the decanting process. You do not need 2 identical peanut butter jars on your pantry shelf. Finish the opened one first, and put the extra in back stock until you need it so you don’t have doubles or triples taking up prime real estate.
Typically, back stock items go on on the top or bottom shelf and helps free up space on other shelves for your everyday items. Back stock is essentially a section for anything extra that doesn’t have a home in your new, nicely organized kitchen pantry.
My only exception to this is for canned goods. I stack multiples of the same item to utilize the vertical space of the shelf. But, if you don’t want to do that, the back stock system obviously works for them, too!
Use Labels for Easy Identification
Once you have everything nicely in its dedicated space, the last step in kitchen pantry organization is labeling! This makes it super easy to identify whatever you need. If you’ve done all of the work of categorizing your kitchen pantry, you want to be able to look at a bin and know exactly what’s inside of it at a quick glance.
I made my own labels, but Etsy is a great resource for a variety of pantry and spice labels, and many. of the vendors do custom orders.
PRO TIP: Don’t get too caught up in labeling everything so specifically. If you’re constantly be re-labeling your bins, it’s not really a sustainable organization method. Some of my canisters always contain the same kitchen staple (sugar, flour, etc.), but other canisters don’t. For example, I may have walnuts in a container one month, but the following month it could house cashews. It’s okay to label these as “nuts” instead. The same goes for cereal or pasta. Give yourself a label specific enough to identify its contents, but generic enough to have flexibility in your shopping habits.
Extra Tips for Kitchen Pantry Organization
Utilize Lazy Susan Turntables
On high shelves that may be just out of reach or sight, use a lazy Susan turntable. In some instances, spinning the turntable to see your things may work better for you than pulling out a bin every time to want to grab what’s up there.
You’d be surprised how much you can fit onto a lazy Suzan. I also like this divided lazy Suzan in case you want to utilize the different sections.
Use Vertical Space for Pantry Organization
I use a spice rack riser so that I’m not sifting through the cabinet and so I can easily grab spices while I’m cooking. Depending on the size and layout of your pantry, you can also use risers for canisters, canned goods, pasta sauces, etc. (In our NYC apartment, I installed this compact pullout spice rack and I love it.)
If you need more counter space or shelving in your kitchen, consider kitchen shelves. They instantly add more surface space to and don’t require any drilling. You can use these shelves to organize dishes, glasses, spices, and other small kitchen items.
Stack Things Sideways
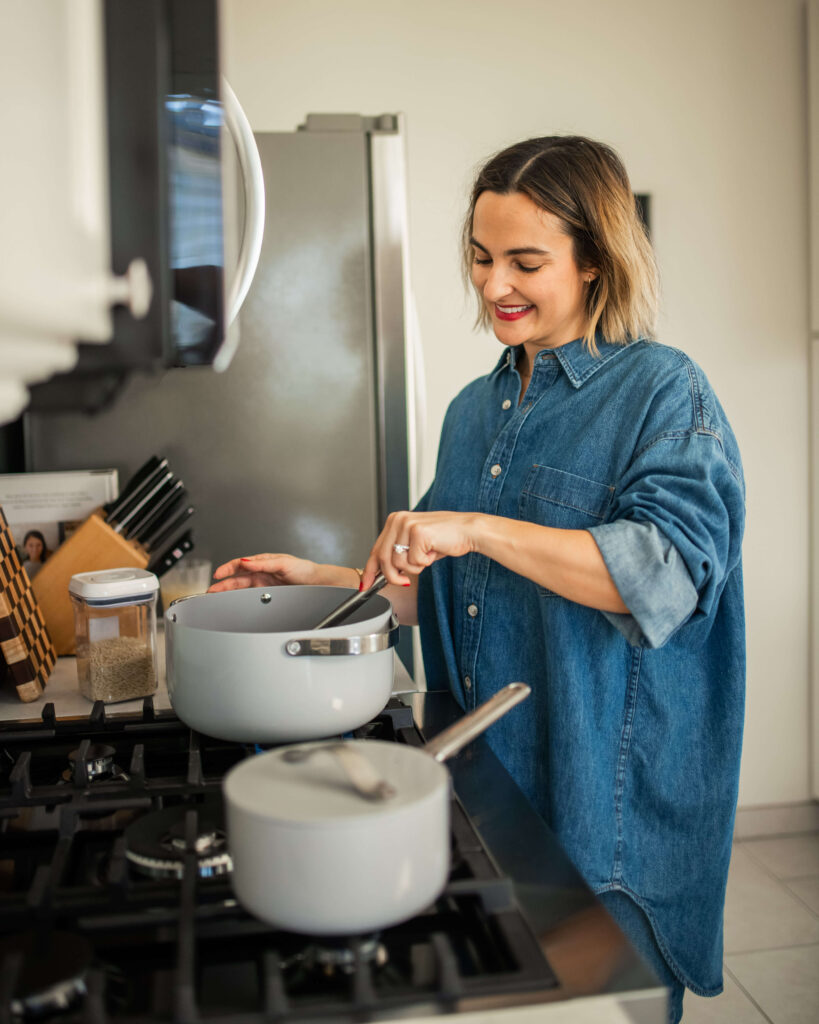
Technically pans and lids aren’t food items, but often times they’re a tricky part of kitchen organization. Instead of stacking everything on top of one another (which always ends up in a noisy mess), stack them sideways in a rack. This storing method saves space and it’s a lot easier to sort through what you need.
I also recently upgraded to a Caraway pots and pans set, which comes with a slim lid storage system that hangs on a cupboard door.
For more compact wine storage in the fridge, try stackable wine holders. They also work for water bottle organization depending on your space.
Have Cohesive Spice Jars
Upgrading your spice jars to uniform bottles and labels makes a huge visual impact. And it’s calming, too! Staring at so many colors, words, and shapes can be overwhelming, and streamlining your spice cabinet can reduce this feeling.
Keep What You Use at Eye Level
Put anything you use less frequently on higher shelves or lower shelves and items you use regularly closer to eye level. Our back stock bins are on the highest shelf in the pantry since we only reach for them when something needs replacing or refilling.
Less is More on Open Shelving
If you have open shelves or kitchen cabinets with glass, treat these as display areas like bookshelves. Less is more here, and I recommend avoiding these areas to keep pantry items unless you have a cute jar to keep them in. Open shelves should bee curated to highlight special items like:
- A collection of mugs
- Cookbooks
- A fancy casserole dish
- Plants
- A few water glasses for easy access (instead of your whole collection)
Organizing is so therapeutic for me and I always love finding new systems and hacks to make a home more decluttered, and functional. I hope this helps to make your kitchen pantry an organized pantry that you love!