If you’ve been a Charmed by Camille reader for a bit, then you know I’m a big fan of easy cocktails. I’m even a bigger fan of a cocktail at brunch, particularly the classic mimosa. Today I’m sharing how you can elevate your weekend brunch plans with friends with an easy, DIY Mimosa Bar.
It’s a fun little drink station where guests can gather and pick what they want to make, and it also allows whoever is hosting to mingle without playing bartender the whole time. Plus, let’s be honest here – whodoesn’t love a mimosa party, am I right?!
Next time you’re hosting Easter brunch, Mother’s Day, or your BFF’s bridal shower, consider setting up a DIY mimosa bar. (This is also a great idea for baby showers, just make sure you have some sparkling apple cider on hand for the mom-to-be in lieu of champagne.)
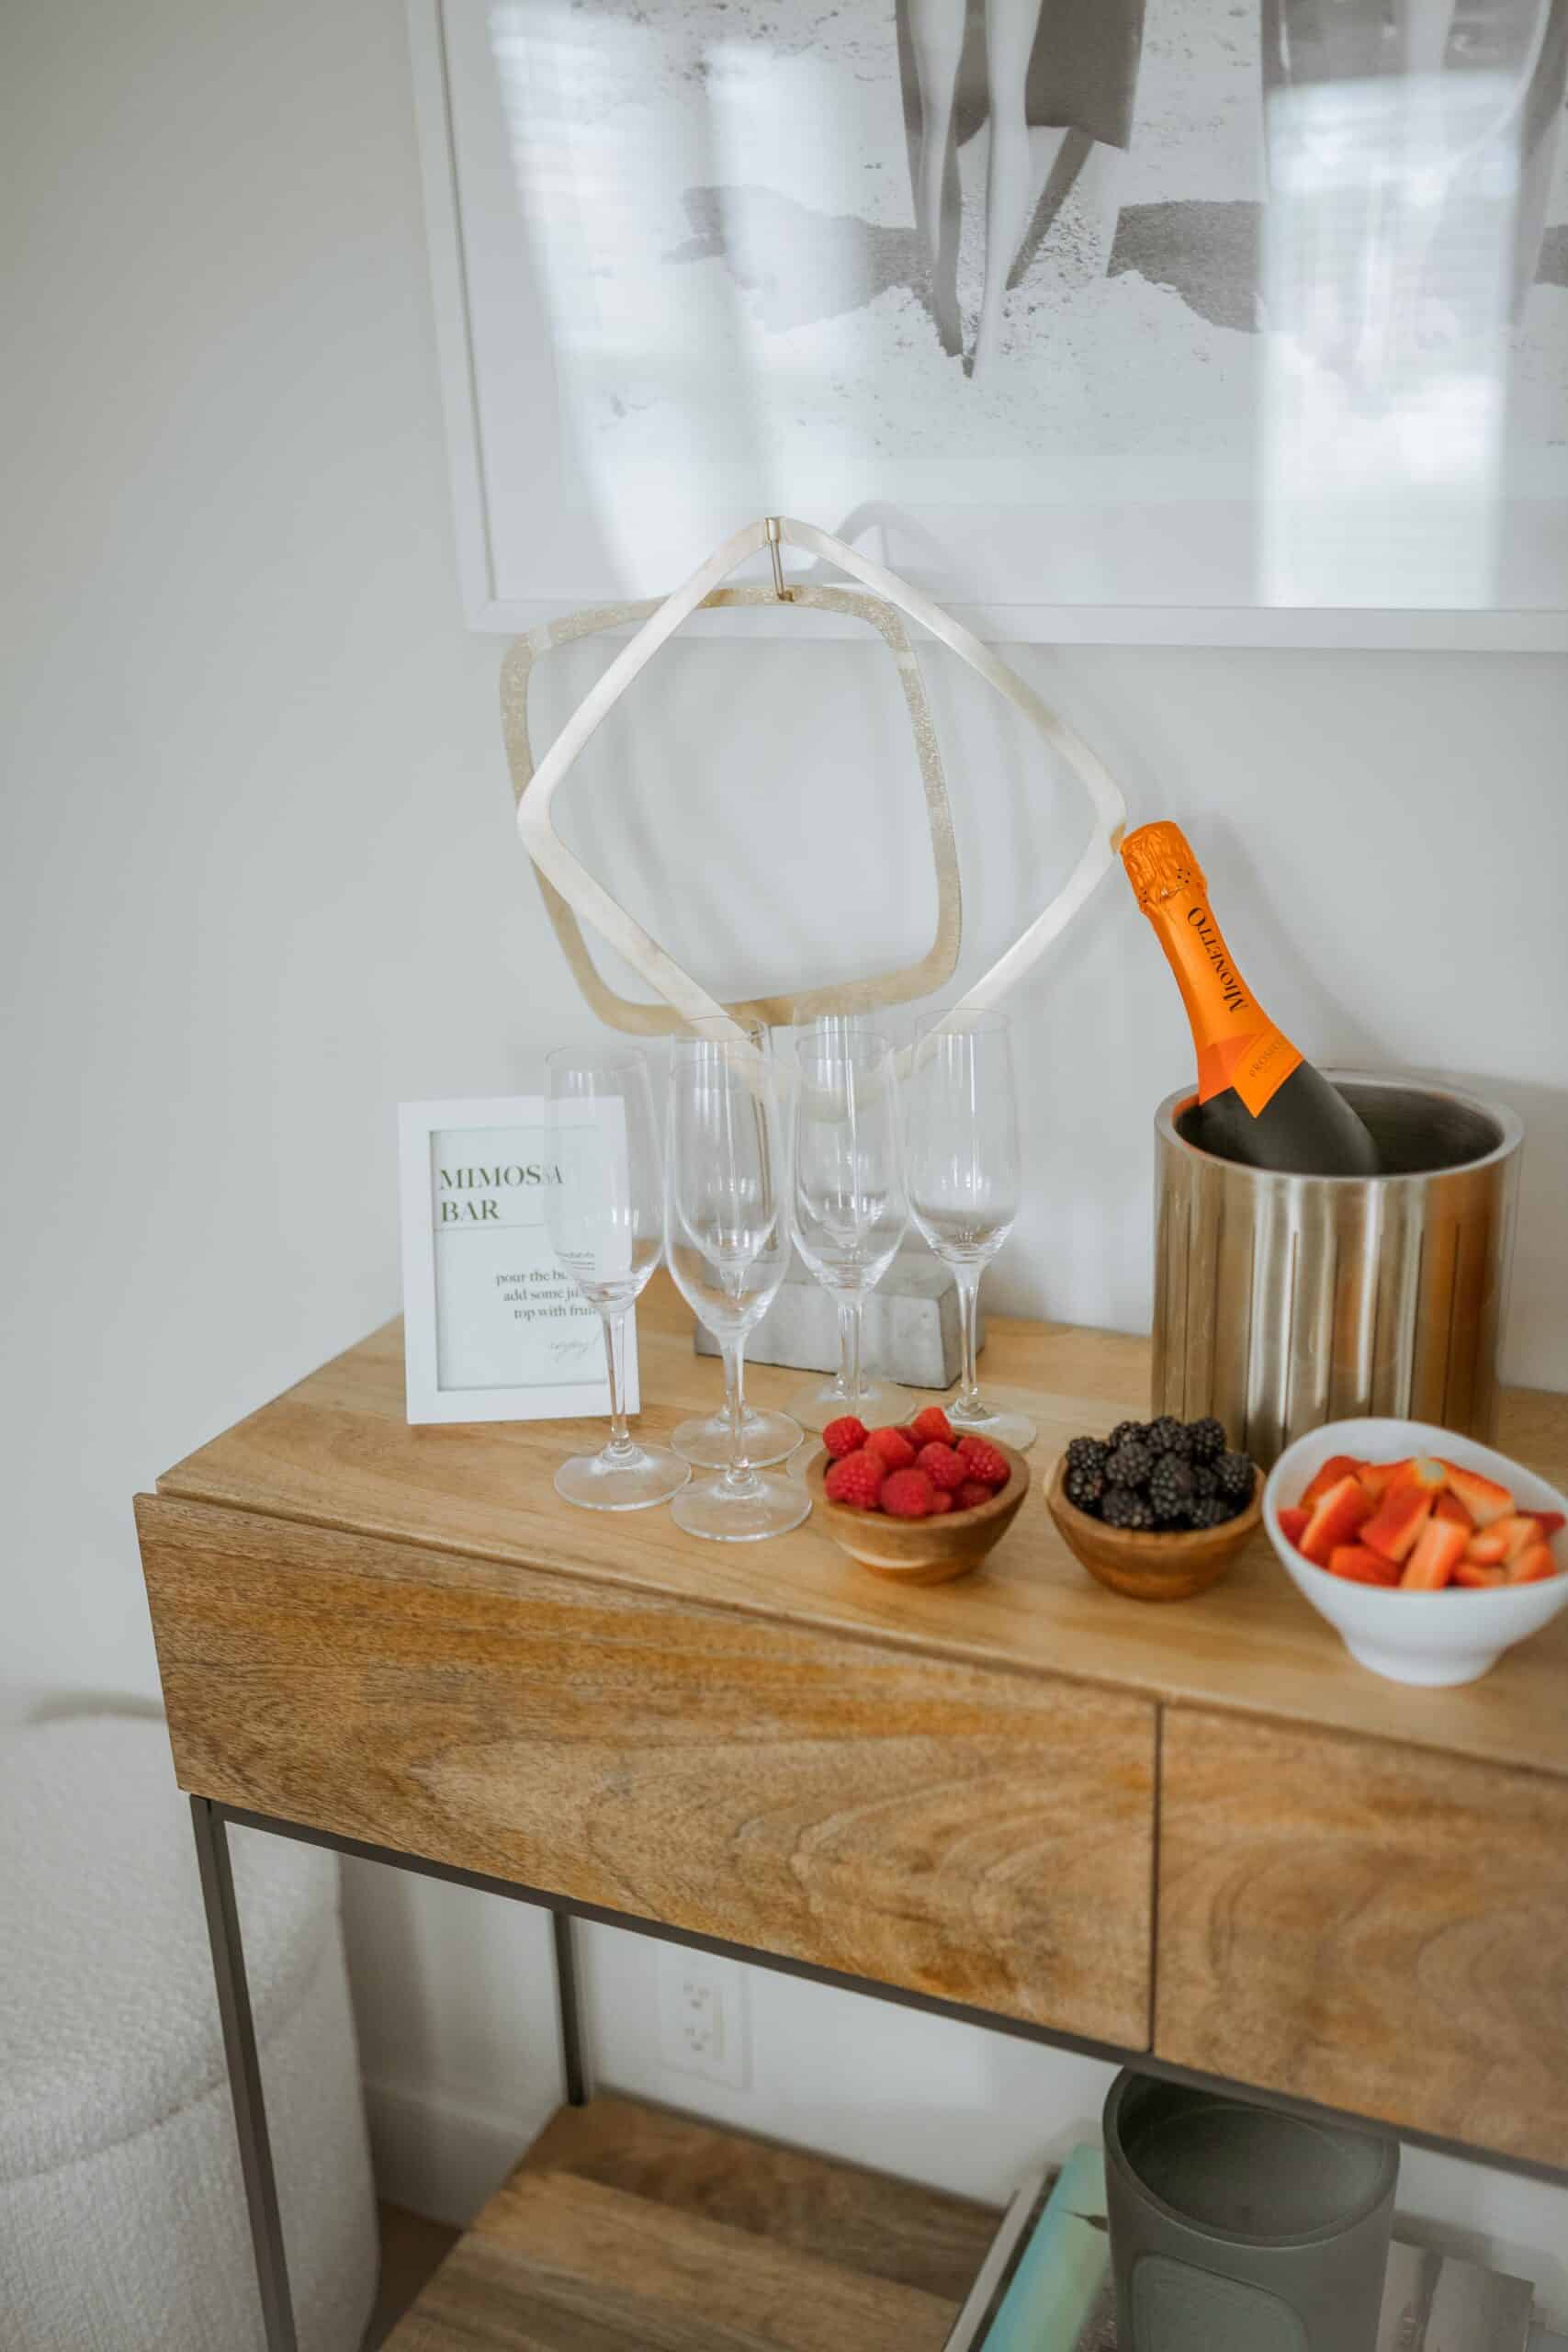

DIY Mimosa Bar
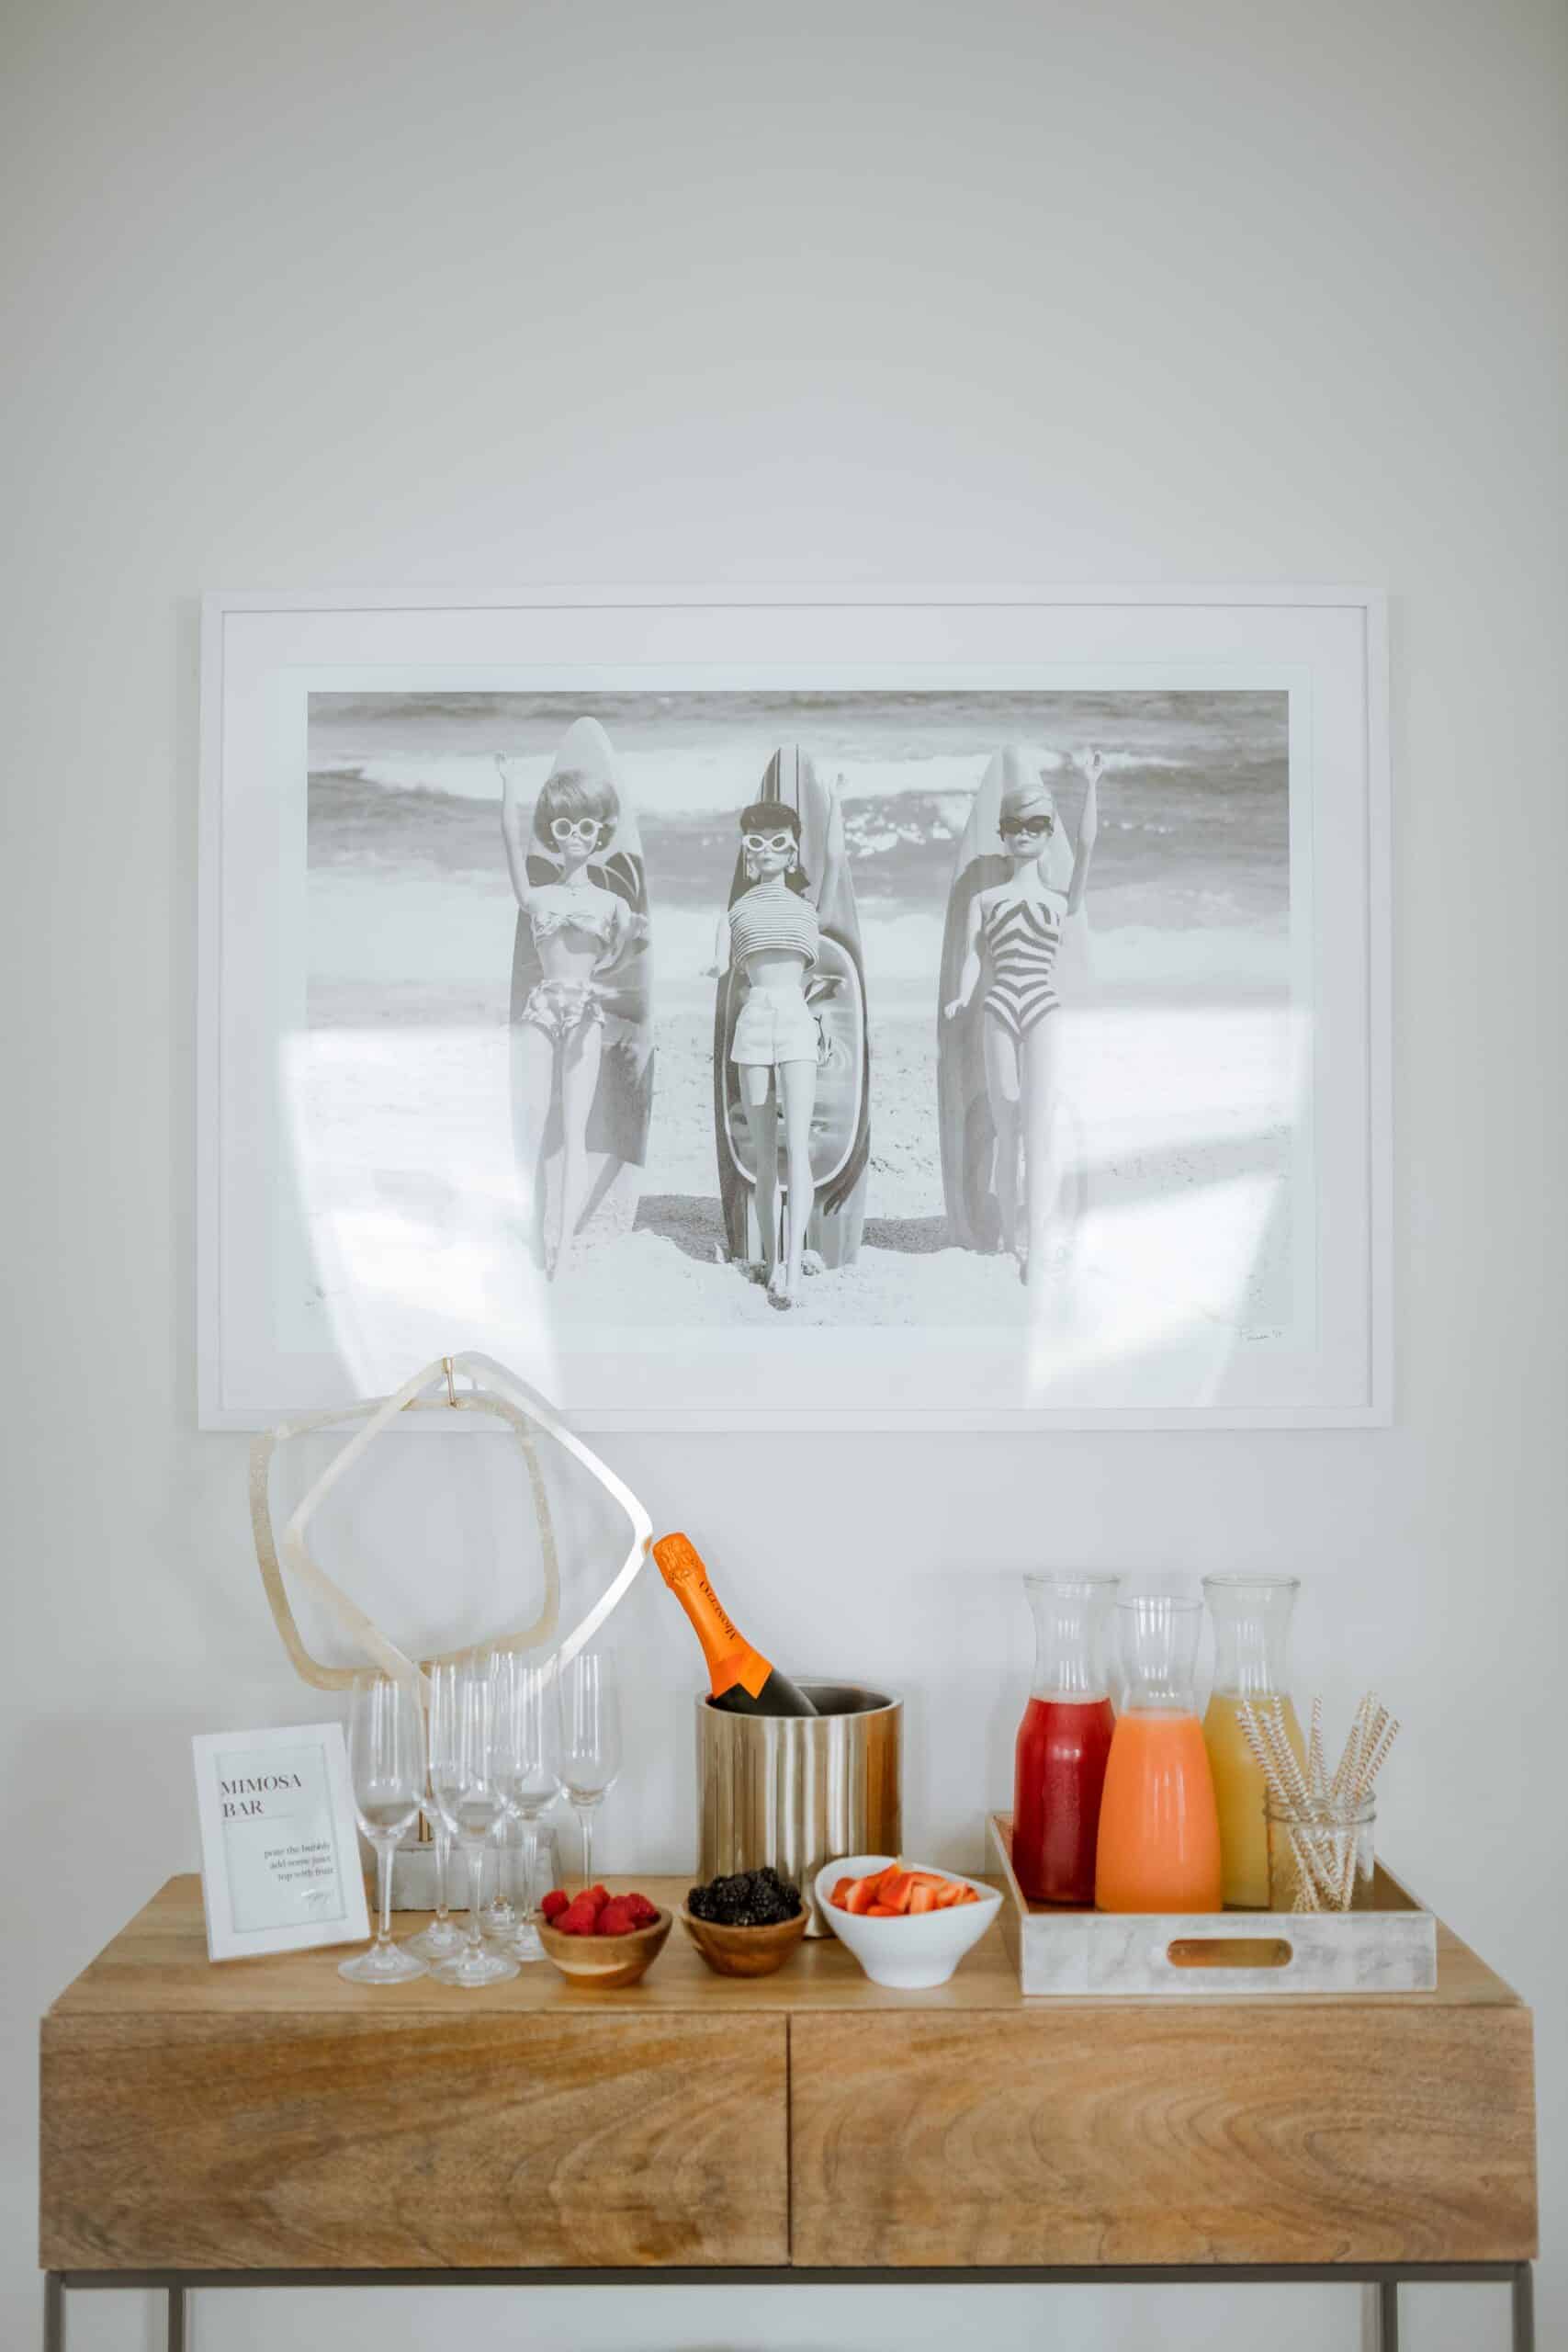
I’m very much a fan of entertaining and finding simple ways to elevate an experience. To set up a DIY mimosa bar, first figure out where you want it. Whether that’s a on a bar cart or credenza, or in your kitchen, the choice is up to you. I set mine up at our entry table because I like the idea of greeting guests and letting them pour their own custom concoction upon arrival.
What You Need
Obviously, everyone is going to make their own mimosa a little differently, but the basic framework for a great mimosa is the same every time:
- Juice to add to your mimosa (orange juice for the OG version)
- Your favorite bottle of champagne + a couple of extras
- An assortment of fresh fruits for garnish
A standard 750 ml bottle of champagne fills five to six glasses. Keep that in mind when you’re making your list, especially since people may have seconds.
A few fruit juice ideas:
- Orange juice (stock up on OJ the most, since it’s the classic and most popular)
- Grapefruit juice
- Mango juice
- Pineapple juice
- Pomegranate juice
- Cranberry juice
Fruit ideas:
- Raspberries
- Blackberries
- Strawberries
- Peaches
- Pomegranate arils
Other things you need to set up a mimosa bar:
- An ice bucket or beverage tub to keep the champagne cold
- Ice
- Glass carafes
- Small bowls
- Champagne flutes
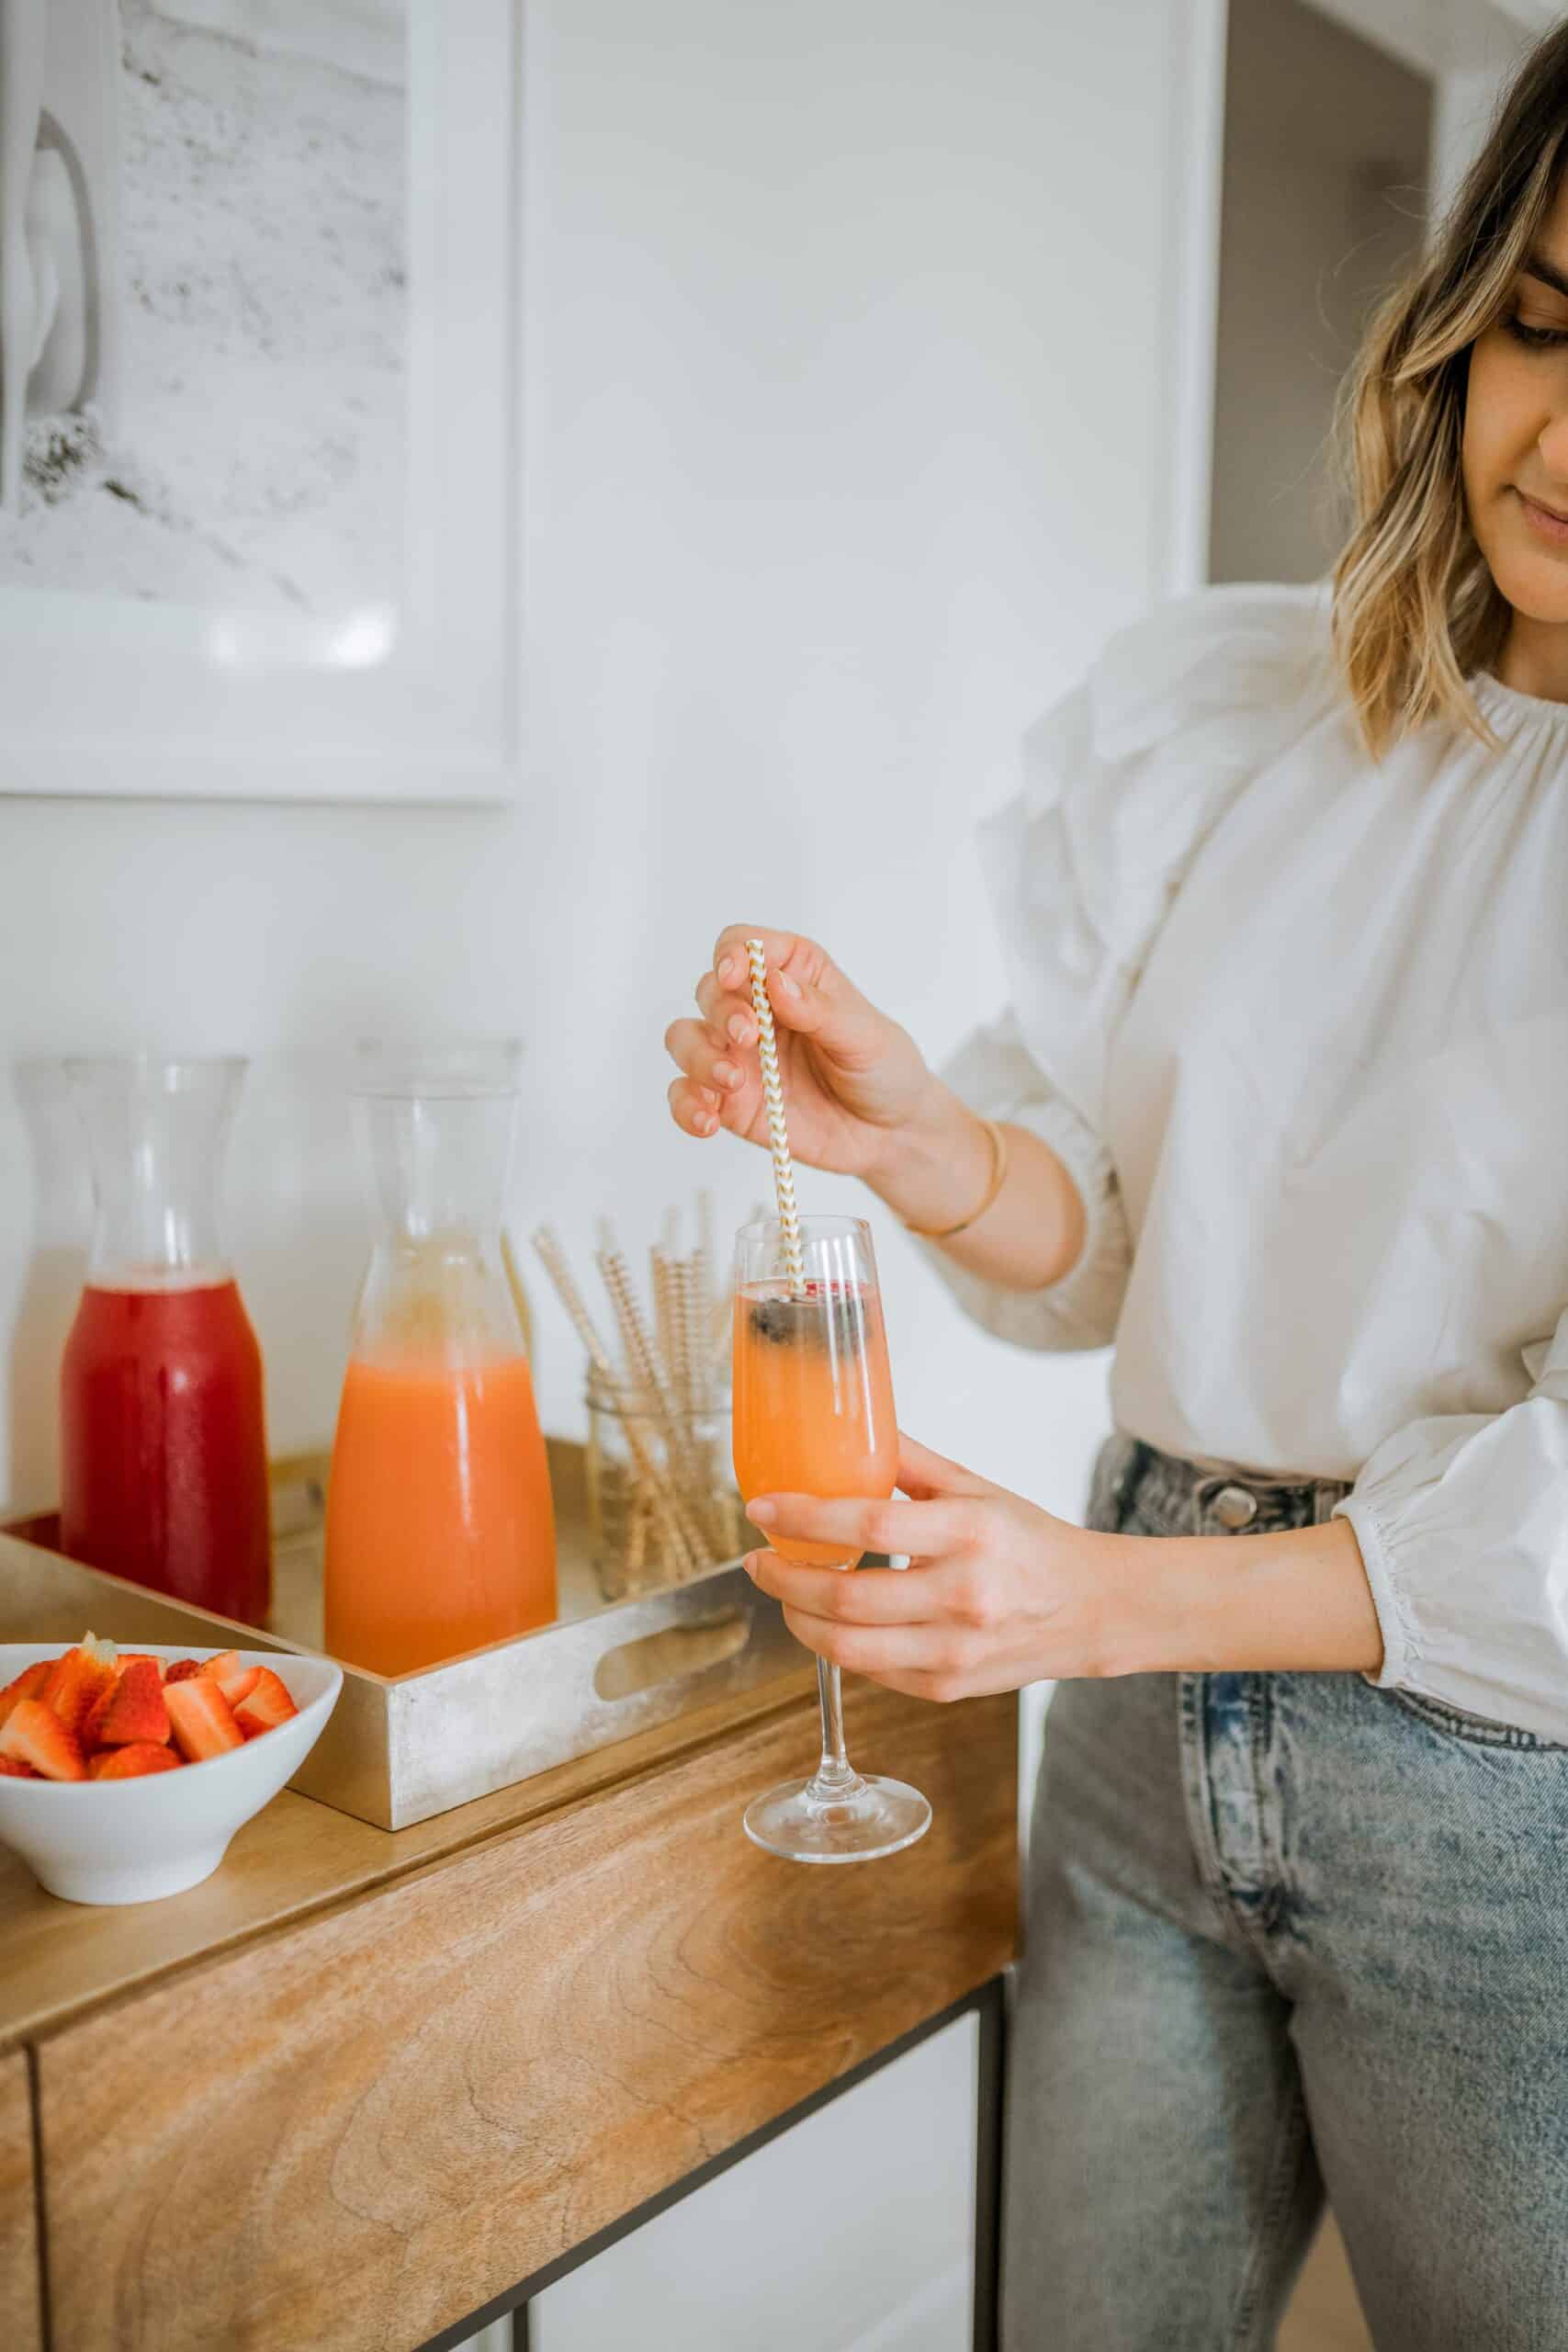

How to Set up a DIY Mimosa Bar
Step 1
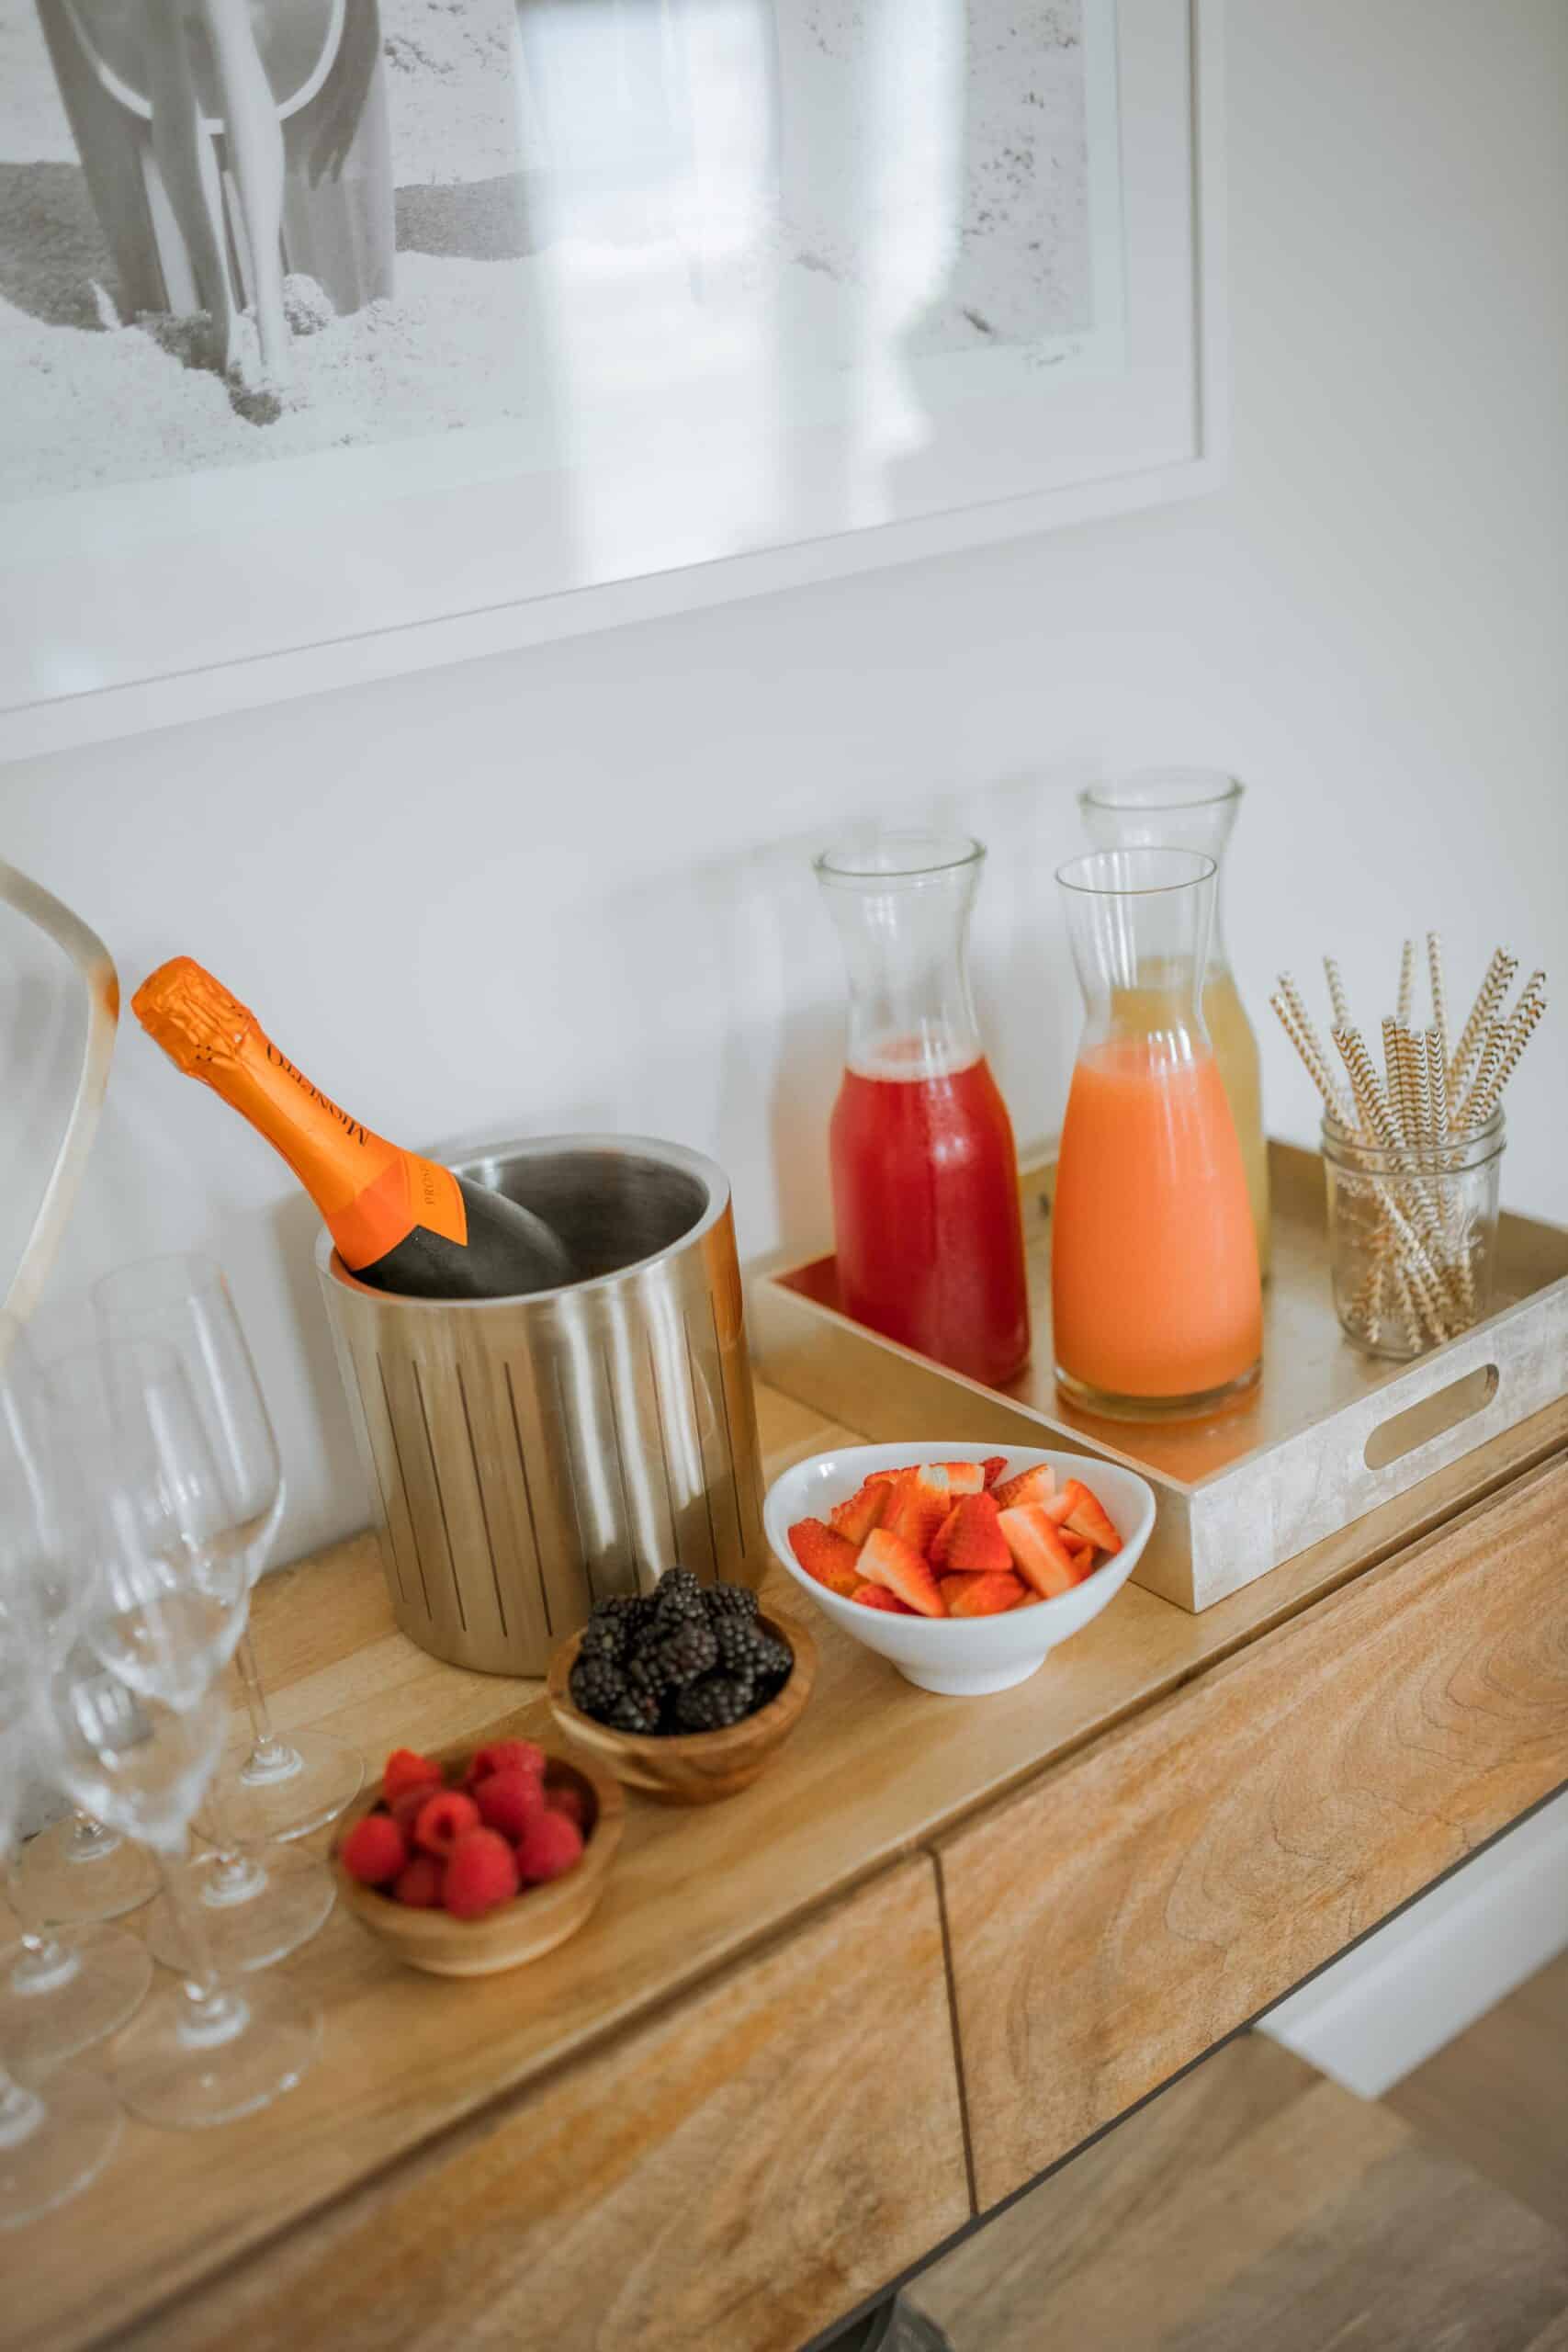
Fill an ice bucket with ice and put your champagne in it. Although this may seem counterintuitive, doing this first gives the champagne to chill directly in the ice while you prepare the rest of your DIY mimosa bar.
Step 2
Wash, strain, and cut any berries or fruit you plan to serve. You can either separate everything into their own small bowls, or mix everything together into a larger bowl. I personally prefer to use individual small bowls; if people want to mix and match their fruit on their own, they will.
Step 3
Pour each juice flavor into its own carafe. I like to use glass carafes because they make your mimosa bar look way prettier than than a bunch of mismatched labels and cartons.
Step 4
Set out champagne flutes and any other finishing touches you want. If it’s been awhile since you’ve used your champagne flutes, be sure to give them a good wipe with a towel to remove any dust.
I put out some cute striped straws and placed them in a mason jar. I also made a sign on my computer with “instructions” and cut it to fit the frame. A little touch like this is really easy to do, and really elevates your mimosa bar. For mimosa bar printable inspiration and examples, click here.
If you want, add flowers, cocktail napkins, or even candles.
Throughout your brunch, keep an eye on the champagne bottles and be sure to replenish as needed. This includes refilling any juices or garnishes, too.
A DIY mimosa bar is an easy way to let your guests help themselves, so you don’t have to be stuck in the kitchen the whole time serving up drinks. Mimosas are super simple to make, so even if your guests don’t have bartending skills, they won’t be intimidated to make their own.
Place your DIY mimosa bar where it makes sense for you: on a bar cart, in the kitchen, or at your entry like I did.
It’s such a simple and affordable way to elevate to any brunch, regardless of the reason for your gathering. Cheers!
