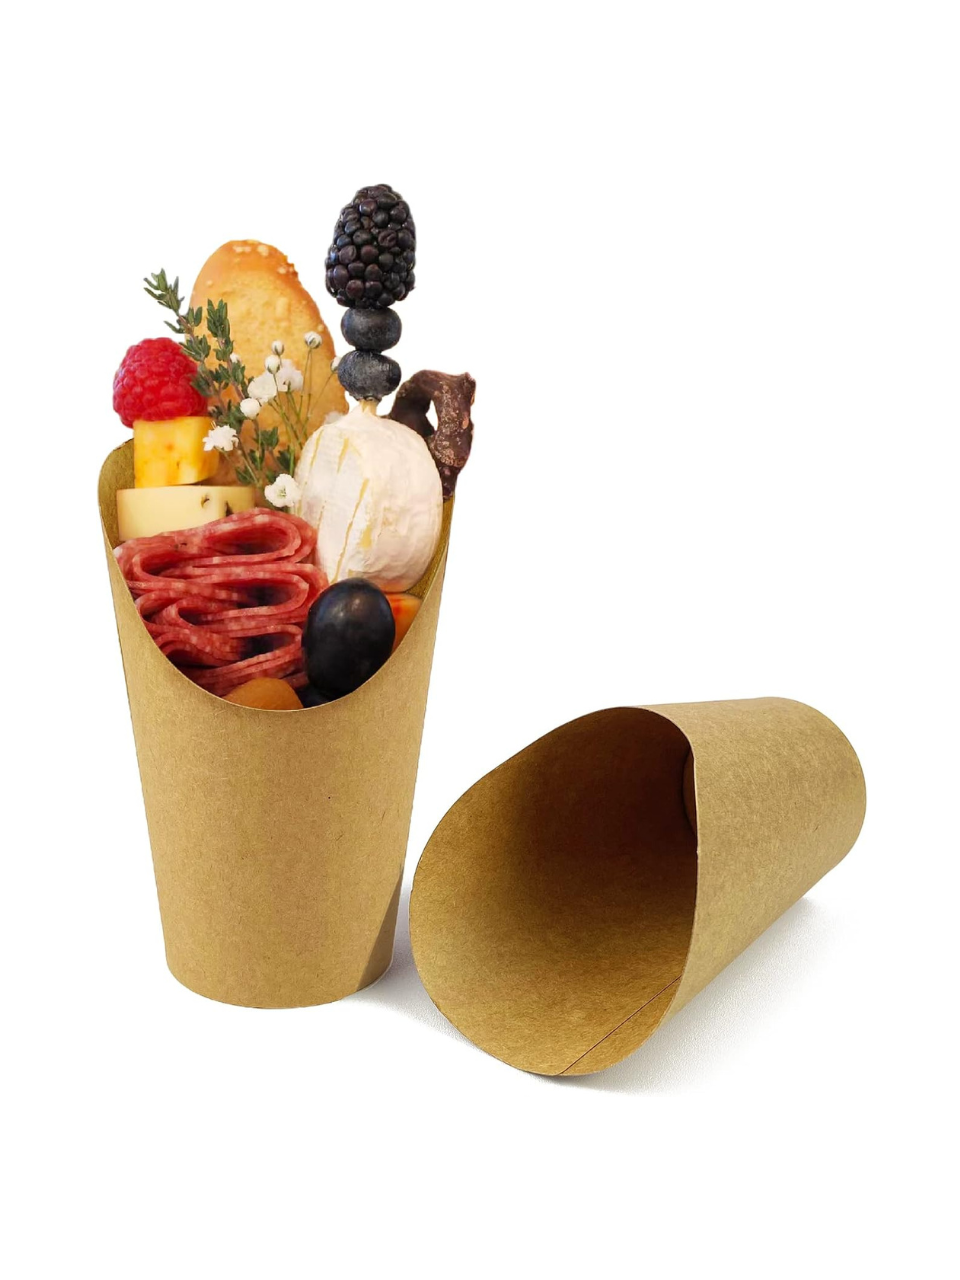
Want to take your charcuterie game to the next level? These individual charcuterie cups are easy to make and work for any kind of get-together, from baby showers and game days to holiday parties, cocktail hours, and beyond. Your guests will love them as much as you do!
At any dinner party, you can always find me by the cheese. I live for a good charcuterie board, but one thing I don’t love is trying to dig into a beautiful, fully loaded spread and piling everything onto my small, unbalanced appetizer plate. Enter these individual charcuterie cups. Small but mighty, these portable cups hold a ton of food, and they’re easy to carry around during a party since they’re the perfect single-serve size portion.
If you’re looking for a fun way to serve up a traditional charcuterie board, try these adorable charcuterie cups at your next party.


Easy Charcuterie Cups
The great thing about these appetizer cups is that you can easily customize them with a variety of ingredients: deli meat, cheeses, fresh fruit, nuts, and lots of other tiny food objects. You want ingredients that provide not only a variety of textures but also a variety of flavors.
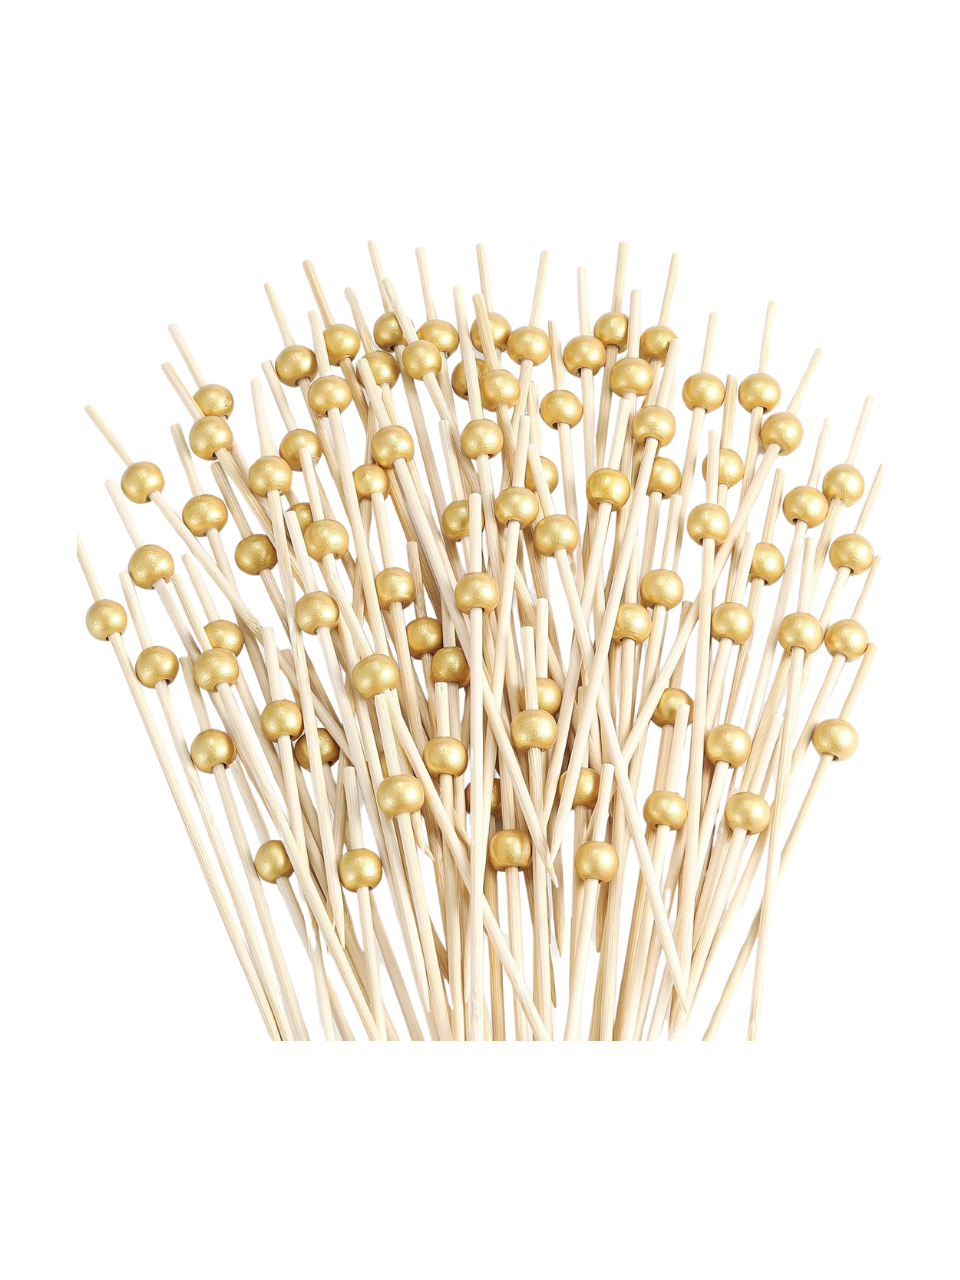
I found all the food ingredients for my cups at my local grocery store, then ordered the charcuterie paper cups and wooden skewers from Amazon. I used two different wooden skewers for these cups: traditional bamboo picks, then shorter picks with a cute gold ball at the end to add some height variance and style.
These little cups are a personal favorite to make since take only take minutes to assemble and work for any get-together.
I love that they’re individual servings, making it easy for guests to grab and enjoy.
Ingredients for Making Charcuterie Cups
Meat Options
A traditional charcuterie board always includes cured meats, so be sure to add some to your cups. Some ideas include salami, pepperoni, and prosciutto.
Cheese Options
When choosing cheese for your individual charcuterie cups, look for non-crumbly cheese that won’t ooze or crumble all over the place. Some of my personal favorites for this include cheddar cheese, gouda, asiago, and Manchego. You can also include some soft cheeses like brie or mozzarella. For my cups, I like to make a little caprese food pick with a couple of cherry tomatoes and mini mozzarella balls. Such a crowd-pleaser!
Fruit
The key to a great cheese board is to balance the savory flavors with some sweet flavors. To this, I like to add in some dried or fresh fruit. Grab dried items like apricots or cranberries, or use fresh blackberries, raspberries, or strawberries.
Crackers
Be sure to add a few crackers to your charcuterie cups. I like to put extra crackers out in case my guests want more, but some thin water crackers or cheese twists add a nice crunch to your cup’s assortment.
Extras to Add
You can really put anything in your individual charcuterie cups! The only real “rule” here is to keep things small and bite-size with small food items since these are individual servings. Nuts, olives, mini pickles, baby carrots, spicy almonds, and even mini chocolates would all work. I always love mixing salty and sweet, so I added a single chocolate-covered pretzel as a “dessert” to finish off my cups. It’s the perfect addition as a little sweet treat for your guests.
Fresh herbs always make any food presentation look beautiful – add a sprig or two of rosemary for a picture-perfect finishing touch!

How to Make Individual Charcuterie Cups
Prep Your Ingredients
Instead of building each cup one by one, I find it a lot easier to prep and lay out everything first, like slicing any cheese or stacking things onto picks. Then you can easily take the items and place them one by one into the cups.
Presentation is Key
There’s an art to assembling a beautiful charcuterie board, so I like to carry that into these individual cups.
When assembling your ingredients, think about how they’ll look in that cute little cup. For meats, consider folding your and stacking multiple slices onto a single pick, or rolling a slice and sneaking it into an open gap.
I love using food picks to stack items that can be eaten together in one or two bites. Picks also make it easier for your guests to grab and enjoy, instead of just dumping everything into the cup. I used two different length picks in my cups to add some height difference. Shop the longer bamboo picks here and the shorter picks with the gold “pearls” here.
You can even add an herb sprig as the finishing garnish on your charcuterie cups!
Layer
Start with heavier items like nuts and fruit at the bottom of your cups, then put the more fragile things like cheese and fruit at the top.
Charcuterie Cup Must-Haves
Charcuterie Paper Cups
Bamboo Picks
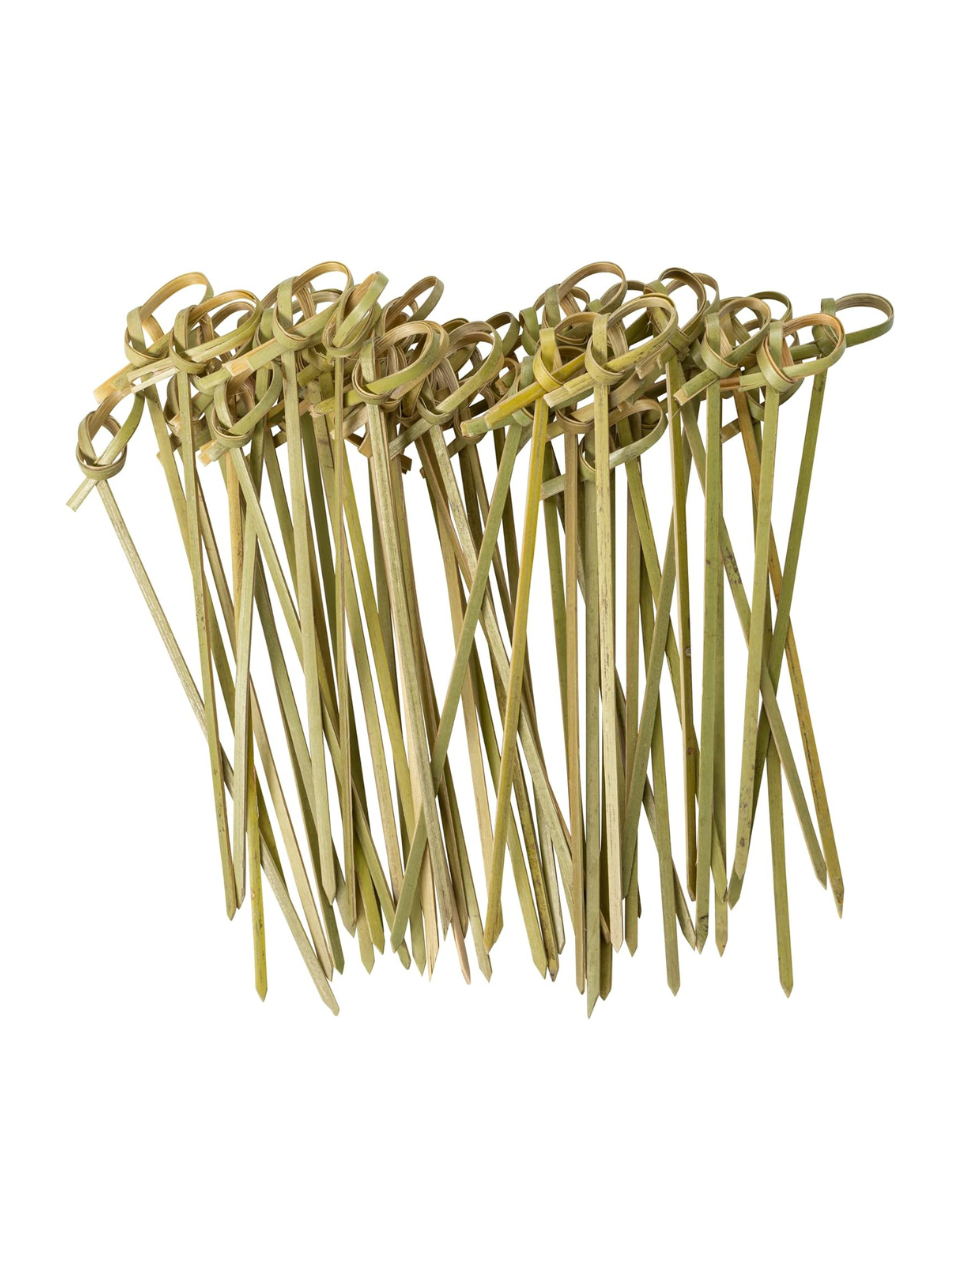
Cocktail Picks
Charcuterie Cup FAQs
How far in advance should I prep my charcuterie cups?
Whenever I’m hosting, I like to prep things as far in advance as possible. It helps relieve stress day off and just makes things easier. When it comes to prepping your charcuterie cups though, you don’t want to prep too far in advance. If you do, you risk your meat and cheese drying out. As a rule of thumb, try not to prep your cups more than two hours in advance so they stay fresh.
What’s the best way to store charcuterie cups?
Once you’ve prepped your charcuterie cups, simply store them in your refrigerator until you’re ready to serve them. This will keep them cold and fresh for your guests.
How long can charcuterie stay out?
To avoid your meats and cheeses from drying out, along with avoiding potential bacterial growth, your charcuterie cups shouldn’t sit out longer than four hours.
If your cups sit out longer than this, you’ll want to dispose of any leftovers.